Heatless Hair Curlers: Love It Or Leave It?

Beachy Waves With Heatless Hair Curlers

Hey everyone!

So to preface, I apologize for the lack of quality in this week’s posts photos — I wasn’t intending this post for this week, and therefore had to prep photos for this super last minute. However, this means that next week you’ll be getting TWO posts on Sunday, so stay tuned for that! And, without further ado, lets get into it!

This weeks post is for everyone out there who LOVES curly hair, but can’t style their hair to save their life, or anyone trying to avoid heat damage to their hair at all costs.

One fact that I’ve found to be almost universally true is that almost everyone who’s outstanding at a certain aspect of beauty now, started with it young and went through all the terrible learning phases while in high school, meaning they came out into the adult world already having that skill down. Every makeup expert you know probably went through a number of TERRIBLE eyeshadow or brow phases back before the age of Instagram. Every fashion guru probably has an album stashed away of mildly embarrassing photoshoots of themselves in tacky 2000’s style outfits. And every girl who’s seemed to master casual, every day waves has probably owned a flat iron and curler since they were in middle school.

I, however, had short hair for most of my grade school days. After cutting off over twelve inches of hair to donate to cancer wigs when I was eleven years old, I was so taken with my newfound short hair after YEARS of being obsessed with having it as long as it would be that I kept it that way until the twelfth grade. Sometimes it looked cute, a lot of times it looked terrible, but most notably it was too short to do anything special with — much to my dismay every time a fancy event rolled around and I wanted to do my hair. It was uncurlable, and took every hack in a hair stylists book if I ever asked for an updo.

As such, I really never learned how to do my hair or thought to incorporate it into my daily routine — a fact that still haunts me to this day. OKAY, maybe that’s a little dramatic but not only do I always underestimate/forget how much time I’ll need if I want to make my hair look nice before leaving the house, but I also, for years, had NO IDEA how to do anything as basic as even curling my hair. Luckily, with years of trial and error and tips from my hair dresser I’ve gotten a lot better, but i’m still far from being excellent.

This is all exactly why I was so curious when I came across a review on Buzzfeed absolutely singing praises for these heatless hair curlers. People were absolutely raving about them and how simple they were. On top of that, anything I can do to reduce heat damage to my bleached-out ends sounds amazing.

Heatless Curlers

Still, I was pretty skeptical. I tried heatless curlers once before (but a very different style) and it was an absolute mess. Still, after reading enough reviews, I decided to just take the leap. Thank god I did — these curlers are AMAZING. Not only are they super easy to use, you can sleep with them in and it’s not even uncomfortable. They give the same look as using a curling wand, and only a little bit more effort. The only downside is that you do have to wait — it’s not as instantaneous as heat curlers. However, if you’re prepared to sleep with them in it’s no problem — plus, if you take the time to put them in before doing your makeup you can still get a great curl out of them.

As well, your hair should be at least a little damp first. You don’t want to have your hair totally wet either, and it’s a little hard to find a good medium, although freshly blow-dried hair should work just fine. I learned the hard way today that if you don’t dampen your hair first the curls don’t last nearly as well — a good learning lesson but a little unfortunate as I was using them to take photos for this post.

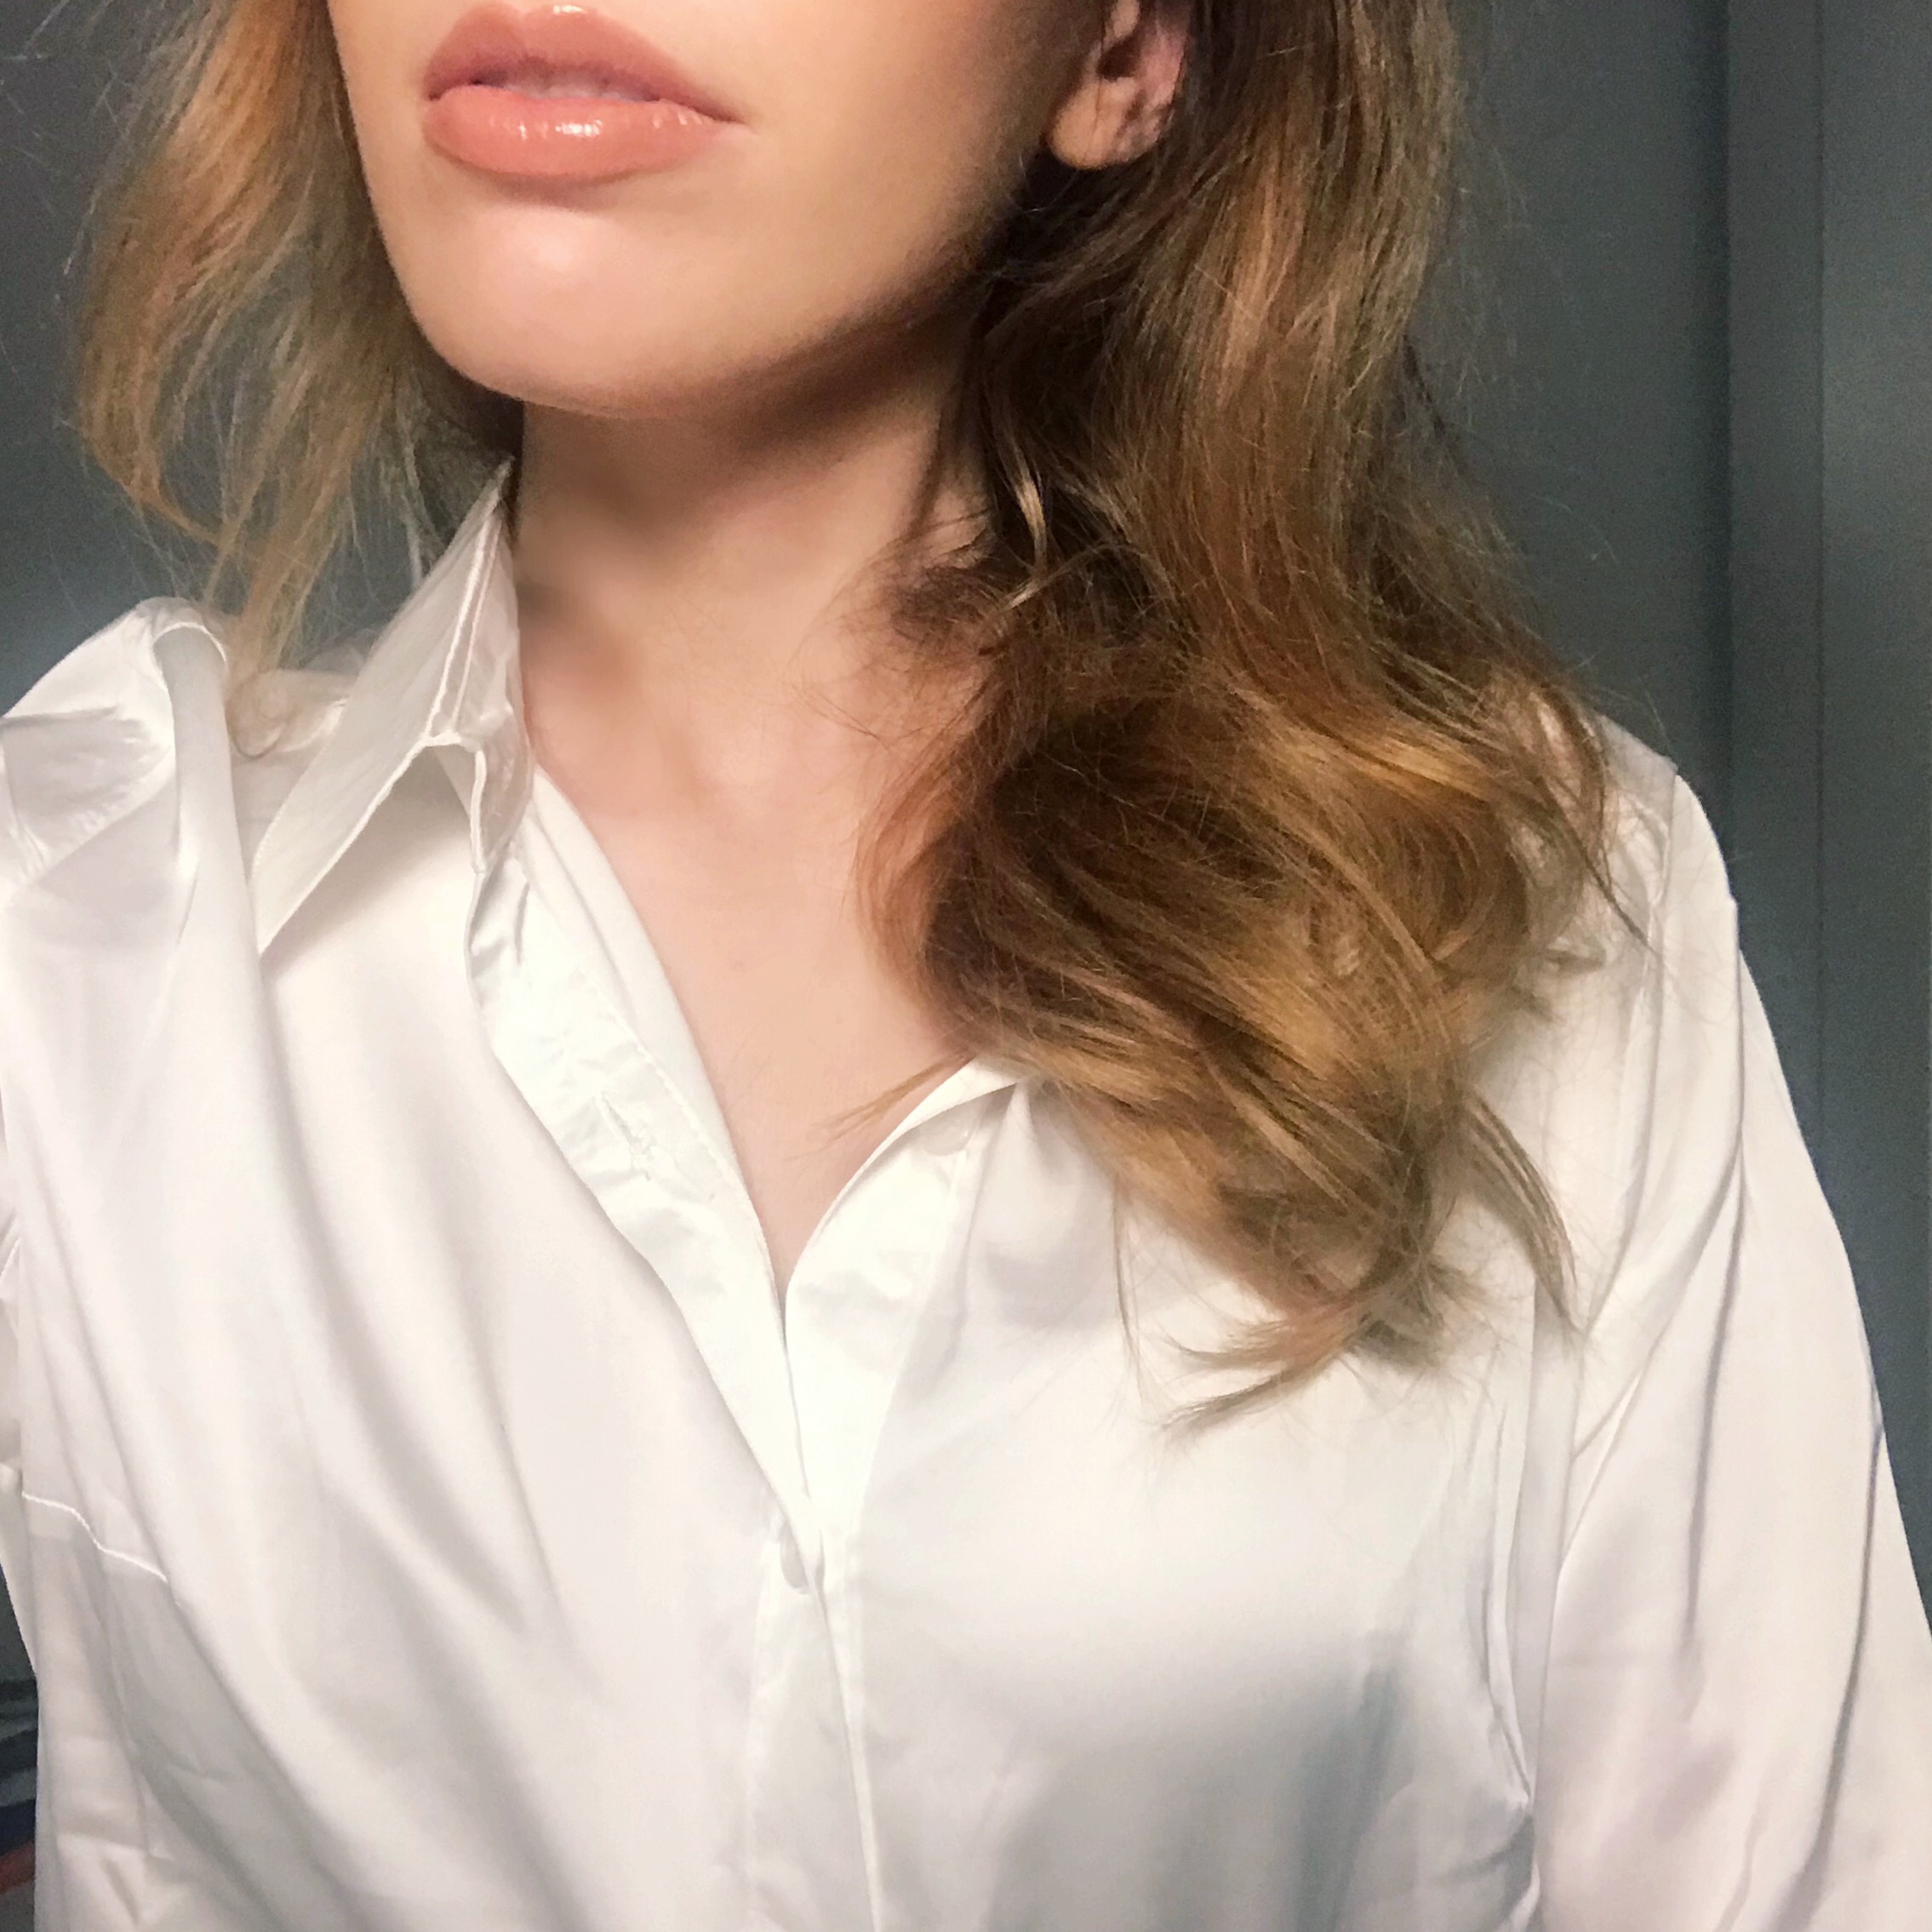
The final result of these curlers is stunning though — it looks just the same as if you spent all kinds of effort with a wand (just minus the burns). I tend to use the medium-large ones to get a more natural wave, but if you’re looking for a tighter, ringlet-style curl this pack includes curlers small enough to give you that exact look. These curls hold fantastically too — which I was incredibly surprised by. Maybe it’s just my lack of knowledge when it comes to hair styling, but I always thought heat was essential to a curl’s hold. Turns out that’s not the case at all — these work fantastic without frying your strands.

The Final Result!

If this sounds like the product you’ve been needing, be sure to check them out on Amazon here!

Be sure to stay tuned for a two-special post next week — my Tarte Custom Makeup Kit unboxing, as well as the first part of my surprise 3-piece holiday segment!

Hope you’re all having a lovely week,

Meredith

Love It or Leave It: Brow Tinting!

Thanks to @Dizzyd718 for making this photo available freely on @unsplash

Hey y’all!

So, if you’re an even semi-avid follower of beauty trends on Instagram nowadays, you’ll already know that semi-permanent makeup solutions are all the rage. Every day it feels like you hear of something new — lash lifting, eyelash extensions, microblading, ombre brows, brow laminating, makeup tattooing, lip injections, the list goes on.

These trends have often had my attention since the very beginning, but I’ve yet to really take the leap and try them out as it does seem like a commitment. However, as I begin to get busier with my current job, which requires I look put-together almost daily, the idea of stopping in for an appointment once a month becomes a lot less daunting compared to having to have flawless makeup applied every day.

However, when I finally took the leap it was entirely on a whim — while getting my eyebrows threaded about a month back, my brow lady finished up, and casually suggested that I should give brow tinting a shot — and I did.

This was really unlike me for so many reasons — I’m really not one to take such a permanent approach without fair research and prep, as my appearance is rather important to me. I also have a lot of allergies to non-food items, meaning there was a VERY likely chance I could have reacted negatively to the dye.

Luckily, not only did everything work out — it went amazingly. My brow lady reminded me a little hesitantly that sometimes people freak out about how dark their brows look, but after a day of getting used to it she was sure I would love it. However, it didn’t even take a day. I took one look in the mirror and was immediately sold — and honestly felt a little silly for not taking the leap on semi-permanent makeup for so long. My brows looked FANTASTIC, as if they were naturally perfect, and took an entire step out of my makeup routine going forward before work.

If you’re someone who doesn’t love wearing lots of makeup, or find you constantly are in a rush to get ready, give brow tinting a shot. In terms of semi-permanent brow solutions, it’s a lot cheaper and significantly more low-commitment than many alternative options. (While obviously prices change between salons, this service cost me $15.00). Ultimately, if you don’t love it, it’ll wear off in a couple of weeks — but if you do love it, you’ll be saving all kinds of time and money on daily makeup application.

For those of you, like me, who’ve never given semi-permanent makeup a go, I hope this review of my experience was helpful! Stay tuned for more posts like this — since I’m definitely going to be trying out more of these services in the near future.

Xo,

Meredith

Me, Sans Makeup, Post Brow Tint

Love It Or Leave It: Kylie Cosmetics Haul!

Kylie Cosmetics

Hey y’all! Welcome back!

I am super excited to share today’s post with you all! For the first time ever, I decided to try out some of Kylie Cosmetic’s products (finally, I know) and have a review of everything I’ve tried to share!

I’ve been wanting to try Kylie Cosmetics, no joke, since she launched her first six lip kits. However, I’ve always been a little hesitant to buy makeup without seeing it in person first. This sense of doubt was only furthered for me when my best friend purchased three lip kits and let me try them, and none of the ones I had wanted to purchase looked anything like I thought they would, nor did they suit me at all.

Kylie Cosmetics Purchases

For years since, I’ve just watched Kylie’s stories testing out her new products, completely enamoured but too nervous to purchase anything and have it not suit me at all. However, since then I’ve had more luck with online products so when she released her 22nd birthday collection I figured it was time to give it a shot!

For my first purchase, I chose the Kylie’s Vacation Essentials collection off of this year’s birthday line, as well as some lip products and a liquid eyeshadow. Keep on reading to hear what I loved and my overall thoughts! Also, you can check out the bundle here!

Makeup Look with You’re $o Money Baby Palette + Kylie Lip Kit

You’re $o Money Baby Eyeshadow Palette

You’re $o Money Baby Palette

First of all, I’m in love with the colour scheme of this palette. The pink/green/brown look is just SO pretty, and I’ve been really into the green/pink/neon trend with makeup lately. When it comes to the individual shadows, however, some are certainly better than others. The “foil” shadows (like “Birthday Queen” and “Twenty Two”) swatch so beautifully, but do not pick up at all on a brush and come off in chunks. However; I’m super in love with a lot of the shimmer shades like “Ballin’ Bae” and “Goal Setter.” Plus, the matte shades are fantastic — so I’d still consider this palette a win.

You’re $o Money Baby Palette

Check out this product here!

Birthday Pressed Body Glow

Birthday Pressed Body Glow

This product is SO fantastic for anyone who’s ever wanted to wear body highlighter but doesn’t want to deal with it potentially transferring everywhere. Most body highlighters come in a liquid formula, which I’ve always shied away from out of fear of it rubbing off all over my clothes, or having it be too pigmented and just end up looking a little crazy. This highlighter is perfect in every way, as I worry less with powder and transfer and the glow is enough to be noticeable, but not too glittery or intense that it looks strange. 10/10, definitely a win in my books.

Birthday Pressed Body Glow

Check out this product here!

Jelly Kylighter in “Family Is Gold”

Jelly Kylighter Packaging

Okay, I won’t lie, I’m a little perplexed by this product. When I saw it on Kylie’s stories, it seemed pretty cool, but IRL it doesn’t make a whole lot of sense to me yet. The consistency is pretty thin, but it’s not quite as fluid as other liquid highlight products, such as CoverFX’s Custom Enhancer Drops. I’m a little hesitant to put this on top of makeup as I usually go for powder bronzer and blush, but it seems like it could be useful to mix in with/apply under foundation, or to use as a body highlighter. The colour is absolutely stunning too, it looks a lot nicer on than it does in the package — which is also admittedly a pretty strange was to contain liquid highlighter (but oh well).

Jelly Kylighter in “Family Is Gold”

Check out this product here!

Velvet Lip Kit in “Kylie”

Velvet Lip Kit in “Kylie”

This is a great product for a night out look. The lip kit was a little darker than I was expecting, and doesn’t suit me too well for a day to day look, but would look amazing paired with a smoky eye. I love that it’s not super matte either, as I’m not a fan of matte lipstick personally, however I do find it strange how it doesn’t seem to dry entirely — I was a little worried about smudging it at first, but I made it through the day without any problems. Also, the lip liner is FANTASTIC — I love the consistency, it’s so easy to apply (which is great for me as I’ve only been experimenting with over-lining my lips for the last month or so). I’d definitely love to try this product out in different colours!

Side Note: Look At How Cute This Packaging Is!

Check out this product here!

Glitter Eyes in “Eat Cake”

Glitter Eyes in “Eat Cake”

I hate to say it, but don’t waste your money on this product. I was so excited to try this product, since as you all know I love liquid eyeshadow. However, I could tell straight away when I received this product that something wasn’t right. Maybe I received a faulty product, but the tube was only 75% full, and when I swatched it I was able to remove it with just water in seconds. When I got around to trying it, the colour was SO BEAUTIFUL, but it applied patchily before taking minutes to dry. Once it did dry, to my horror, it began flaking off like CRAZY. By the time I finished my eyeshadow look, all of this product had flaked off my eyes. If anyone’s had a better experience with this product, let me know! I love liquid eyeshadow and am really disappointed by how poor the quality was compared to the other products I’ve tried.

Check out this product here!

Metallic Lipstick in “Endless Summer”

Endless Summer Metallic Lipstick

My only problem with this lipstick is I didn’t purchase it sooner! It’s such a pretty shade, and absolutely perfect for summer. I don’t usually love how coral tones look on me, but I felt compelled to try this one. The amount of glitter this product packs is INSANE, making it a great lipstick or topcoat if you’re looking to add some extra shine to your lips. The coral shade actually looks great on me as well, which is a first. I’d definitely recommend this for anyone looking for a super glittery coral lip!

Check out this product here!

High Gloss in “Daddy’s Girl”

High Gloss in “Daddy’s Girl”

Anyone who knows me knows I love lip gloss. Lipstick is great, but I’m really not a fan of the matte look on me so I’ve been shying away from it a little over the past few years and embracing the glossy look (thank god it’s coming back in style!). The Kylie High Glosses are AMAZING. I’ve only just tried them but I’m already dying to try more. This glittery gloss is a great top coat over a lip liner and the colour is just so pretty. Unlike so many other glosses, it doesn’t absorb into the skin around your lips and can keep a clean, sharp edge. Plus it’s super long-lasting, and manages to survive for hours even through my busy work shifts.

Check out this product here!

High Gloss in “Diva”

High Gloss in “Diva”

As I already said above, I adore these glosses. This gloss, however, is so unlike any other matte gloss I’ve tried — the colour is really pigmented, and actually gives a solid, non-sheer colour impact as if you’re wearing lip gloss on top on a liquid lip. Plus, these glosses are SO SOFT. They feel amazing, they look amazing, they’re high quality — need I say anymore?

Check out this product here!

So there you have it, my first Kylie Cosmetics makeup haul! Overall I’d say these products are pretty worth it — many of them are less expensive than brands I usually buy, which was fantastic to realize. While some of the products I would not repurchase, such as the Jelly Kylighter or the Glitter Eyes, I’ll definitely be going back for more lip products and eyeshadows in the future. Overall, I’d give this haul a 7/10 — 10/10 for the lip products, but unfortunately not all the products were quite as high quality.

Have you tried any Kylie Cosmetic products? Leave a comment below, I’d love to hear what you liked and what you didn’t! If you’ve loved any of her products I didn’t try, let me know so I can add them to my next haul!

Much love,

Meredith

FUNCTION OF BEAUTY: Love It or Leave It?

Customized Shampoo and Conditioner – Function of Beauty

Hey guys!

So today I’m gonna be sharing my review of Function of Beauty’s customized shampoo and conditioner. I’m gonna do it in two parts — my immediate reaction as well as results after a week. I feel like shampoo/conditioner is the type of product where you have to wait and see results with time, so I want to be able to share both parts with you. I’ve been seeing ads for these products all over the web and have been waiting for my old products to use up for months before purchasing these, so I’m super excited to try it out!

So to start off, obviously these products are highly personalized and the results will vary depending on what you choose for yourself. For mine, I chose volumizing, strengthening, hydrating, shine, and root nourishing. For my hair type, I put fine, wavy and dry. As for scent, I went for pear — I love the ability to choose your scent so you can switch it up, but so far I have to say the pear scent is lovely!

Obviously, the real test will be how this stuff holds up to the weather in South East Asia, which at the time that I post this will be starting tomorrow (!!!) but I have faith. On top of the customizable aspect of these products, they’re also vegan, cruelty-free, sulphate-free and paraben-free, meaning that they’re both excellent for your hair, AND our planet.

First Impressions

Okay so after my first use, I have to say this stuff seems pretty legit. I’m always nervous about trying new stuff out on my hair, as it’s so damaged after bleaching it for so many years. However, the products certainly FEEL high quality, and there doesn’t seem to be anything weird happening with my hair yet. One thing that threw me off was how thick the shampoo was, versus how thin the conditioner was. I’ve been using the same shampoo and conditioner for about 4 or more years now, so I’ve gotten pretty used to their consistency. I was kind of worried the thin conditioner wouldn’t provide enough moisture for my dry ends, but so far it actually seems to have worked just fine. However, I guess we’ll just have to see how it goes over the next week!

One Week Later: Impressions

Okay, sorry about the delay with this post but this week has been crazy. Overall, my impressions with these products are still pretty great. My hair has increased in shine so much, as well as feeling nice, clean, and moisturized without feeling greasy at all. I do kinda find my hair has been looking (slightly, slightly) frizzier but I’m really not sure if it’s always been that way and I just noticed or not. Either way, it’s still so far so good with this stuff. If you’re looking to upgrade your hair routine, or have very specific hair needs, be sure to check this brand out!

Xoxo,

Meredith

GLOSSIER HAUL: Love It or Leave It?

Me, Sporting a Full Face of Glossier Products

Hey y’all!

I’m back with another review for you guys! As some of you know, I’m leaving next week on a backpacking trip across South East Asia (which I’m very excited to share with you all!) and have been facing the challenge of fitting everything I need for a month in one backpack. As someone who is admittedly rather high-maintenance, packing light has never been my forte. Furthermore, there’s the whole issue of a full face of makeup likely not holding up super well to the climate where I’m travelling. This gave me the perfect opportunity to try out some of Glossier’s products I’ve been eyeing, as they are usually cream based (no brushes required) as well as supposedly super light. I’ve purchased from Glossier once before, and have a Tuesday Favourites coming up detailing how much I love their Balm DotCom lip products, so I’ve been looking for a while to try out some more of their products.

Glossier Perfecting Skin Tint
Glossier Perfecting Skin Tint Shade #G8

Soooo, the first product I tried was the Glossier Perfecting Skin Tint. I had some hesitations with this one as I’ve seen a lot of reviews saying it made no difference in their skin, as well as having the consistency of water. However, adding this to a set with the concealer (which I was going to purchase anyway) came for $44 with the concealer being $22, and it seemed smart to pack something super light for my trip. The moment I poured it out of the bottle though, I could tell the reviews were correct — I usually only use tinted moisturizer, which is light coverage, but this stuff really redefines light coverage. On the bright side, it blended into my skin super easily — but whether that was because it’s a good product or because it simply made no changes to my skin at all is up for debate. I’m still going to bring it on my trip and will be sure to update y’all if I change my mind, but for now the verdict is unfortunately: leave it.

Glosser Stretch Concealer
Glossier Stretch Concealer Shade #G8

Okay, so I have a bit of a mixed review on this one. On the plus side, its super compact and light, and doesn’t seem to have creased since I applied it. However, at the same time, I felt when I was applying it that it didn’t really conceal my dark circles. I notoriously have permanent bags and circles under my eyes, which is one of the things I’m most insecure about and use makeup for the most. However, afterwards when I was taking photos for this post, it seemed to have done a better than I first thought. I guess I’m just gonna have to see how it holds up to day to day life, and if y’all are interested I can share updates later on. However, the verdict for now is: we’ll have to wait and see.

Glossier Cloud Paint
Glossier Cloud Paint in Shade Beam

Okay, I won’t lie, this one really took me by surprise. When I first opened it, I was super spooked by how bright the colour was, and I figured there was absolutely no way this would look good on me, or anyone, really. However, after blending it into my skin, it actually turned from less of a bright peach and more into a natural pink flush. I’ve never used cream blush before, and we’ll see how it goes over the next month, but honestly? I could be down to use this product in my daily routine when I’m back. It looked SO natural and dewey, it was honestly unreal. Plus, it was only $22! Verdict: LOVE IT.

Glossier Haloscope Highlighter
Glossier Haloscope Highlighter in Shade Quartz

I’ve been seeing ads for this product forever and I’ve always been super curious. In reviews of Glossier products I’ve seen before, people often rave about this stuff, but note that it gives a natural finish (versus a blinding highlight). However, since I’m used to Vancouver weather and am probably going to melt in Asia, I figured that would be more than enough as I’m sure I’ll already have that #naturalglow going for me (aka sweat). This stuff didn’t 100% blow me away like the blush did, but it does have a lovely natural finish and I think I’m really going to love the simplicity of applying it. It still feels a little oily on my skin a few hours later, if that’s the best way to describe it, but it is rather balmy with a built-in moisturizer so it’s not quite greasy (if that makes any sense). So, the verdict for now is: Love It!

Glossier Lidstar Duo
Glossier Lidstar Duo in Shades Cub and Slip

Last but not least, we have Glossier’s Liquid Eyeshadows, called Lidstar. I was pretty excited to try these as a) I haven’t really tried liquid eyeshadow before and b) the simplicity of being able to wear eyeshadow without using a brush sounded amazing. I’ve seen reviews before where people were disappointed with the pigmentation of the product, however I think they expected it to look like a foil, which I didn’t expect. These eyeshadows, amazingly, feel super soft on your skin, as well as blend out like a dream. The only issue I had was that they kind of seemed to crease a little when I first applied them; but that could have just been because I applied them too soon after my primer. I blended it out with my finger quickly and they haven’t creased at all since. They are super light in colour, however I feel that makes them perfect for an everyday eyeshadow as I don’t love wearing heavy eyeshadow in the day but often have trouble finding light colours that look good. Honestly, I’m probably gonna invest in more of these in the future. So, overall, the verdict is: LOVE IT!

So, there you have it! After I completed the look, I finished up with a couple of my normal non-Glossier products — mascara, brow pencil and brow mascara, as well as bronzer. I will say, I was a little disappointed Glossier didn’t carry their own bronzer, as liquid/cream bronzer would have been a godsend on my travels. However, I’m pretty impressed by the products I did try and can’t wait to rock them in my future travel blogs! You can see how the finished look turned out in the photo below, but I’m pretty satisfied with it. If you’re interested in trying out Glossier’s products, be sure to do so here!

Much Love,

Meredith