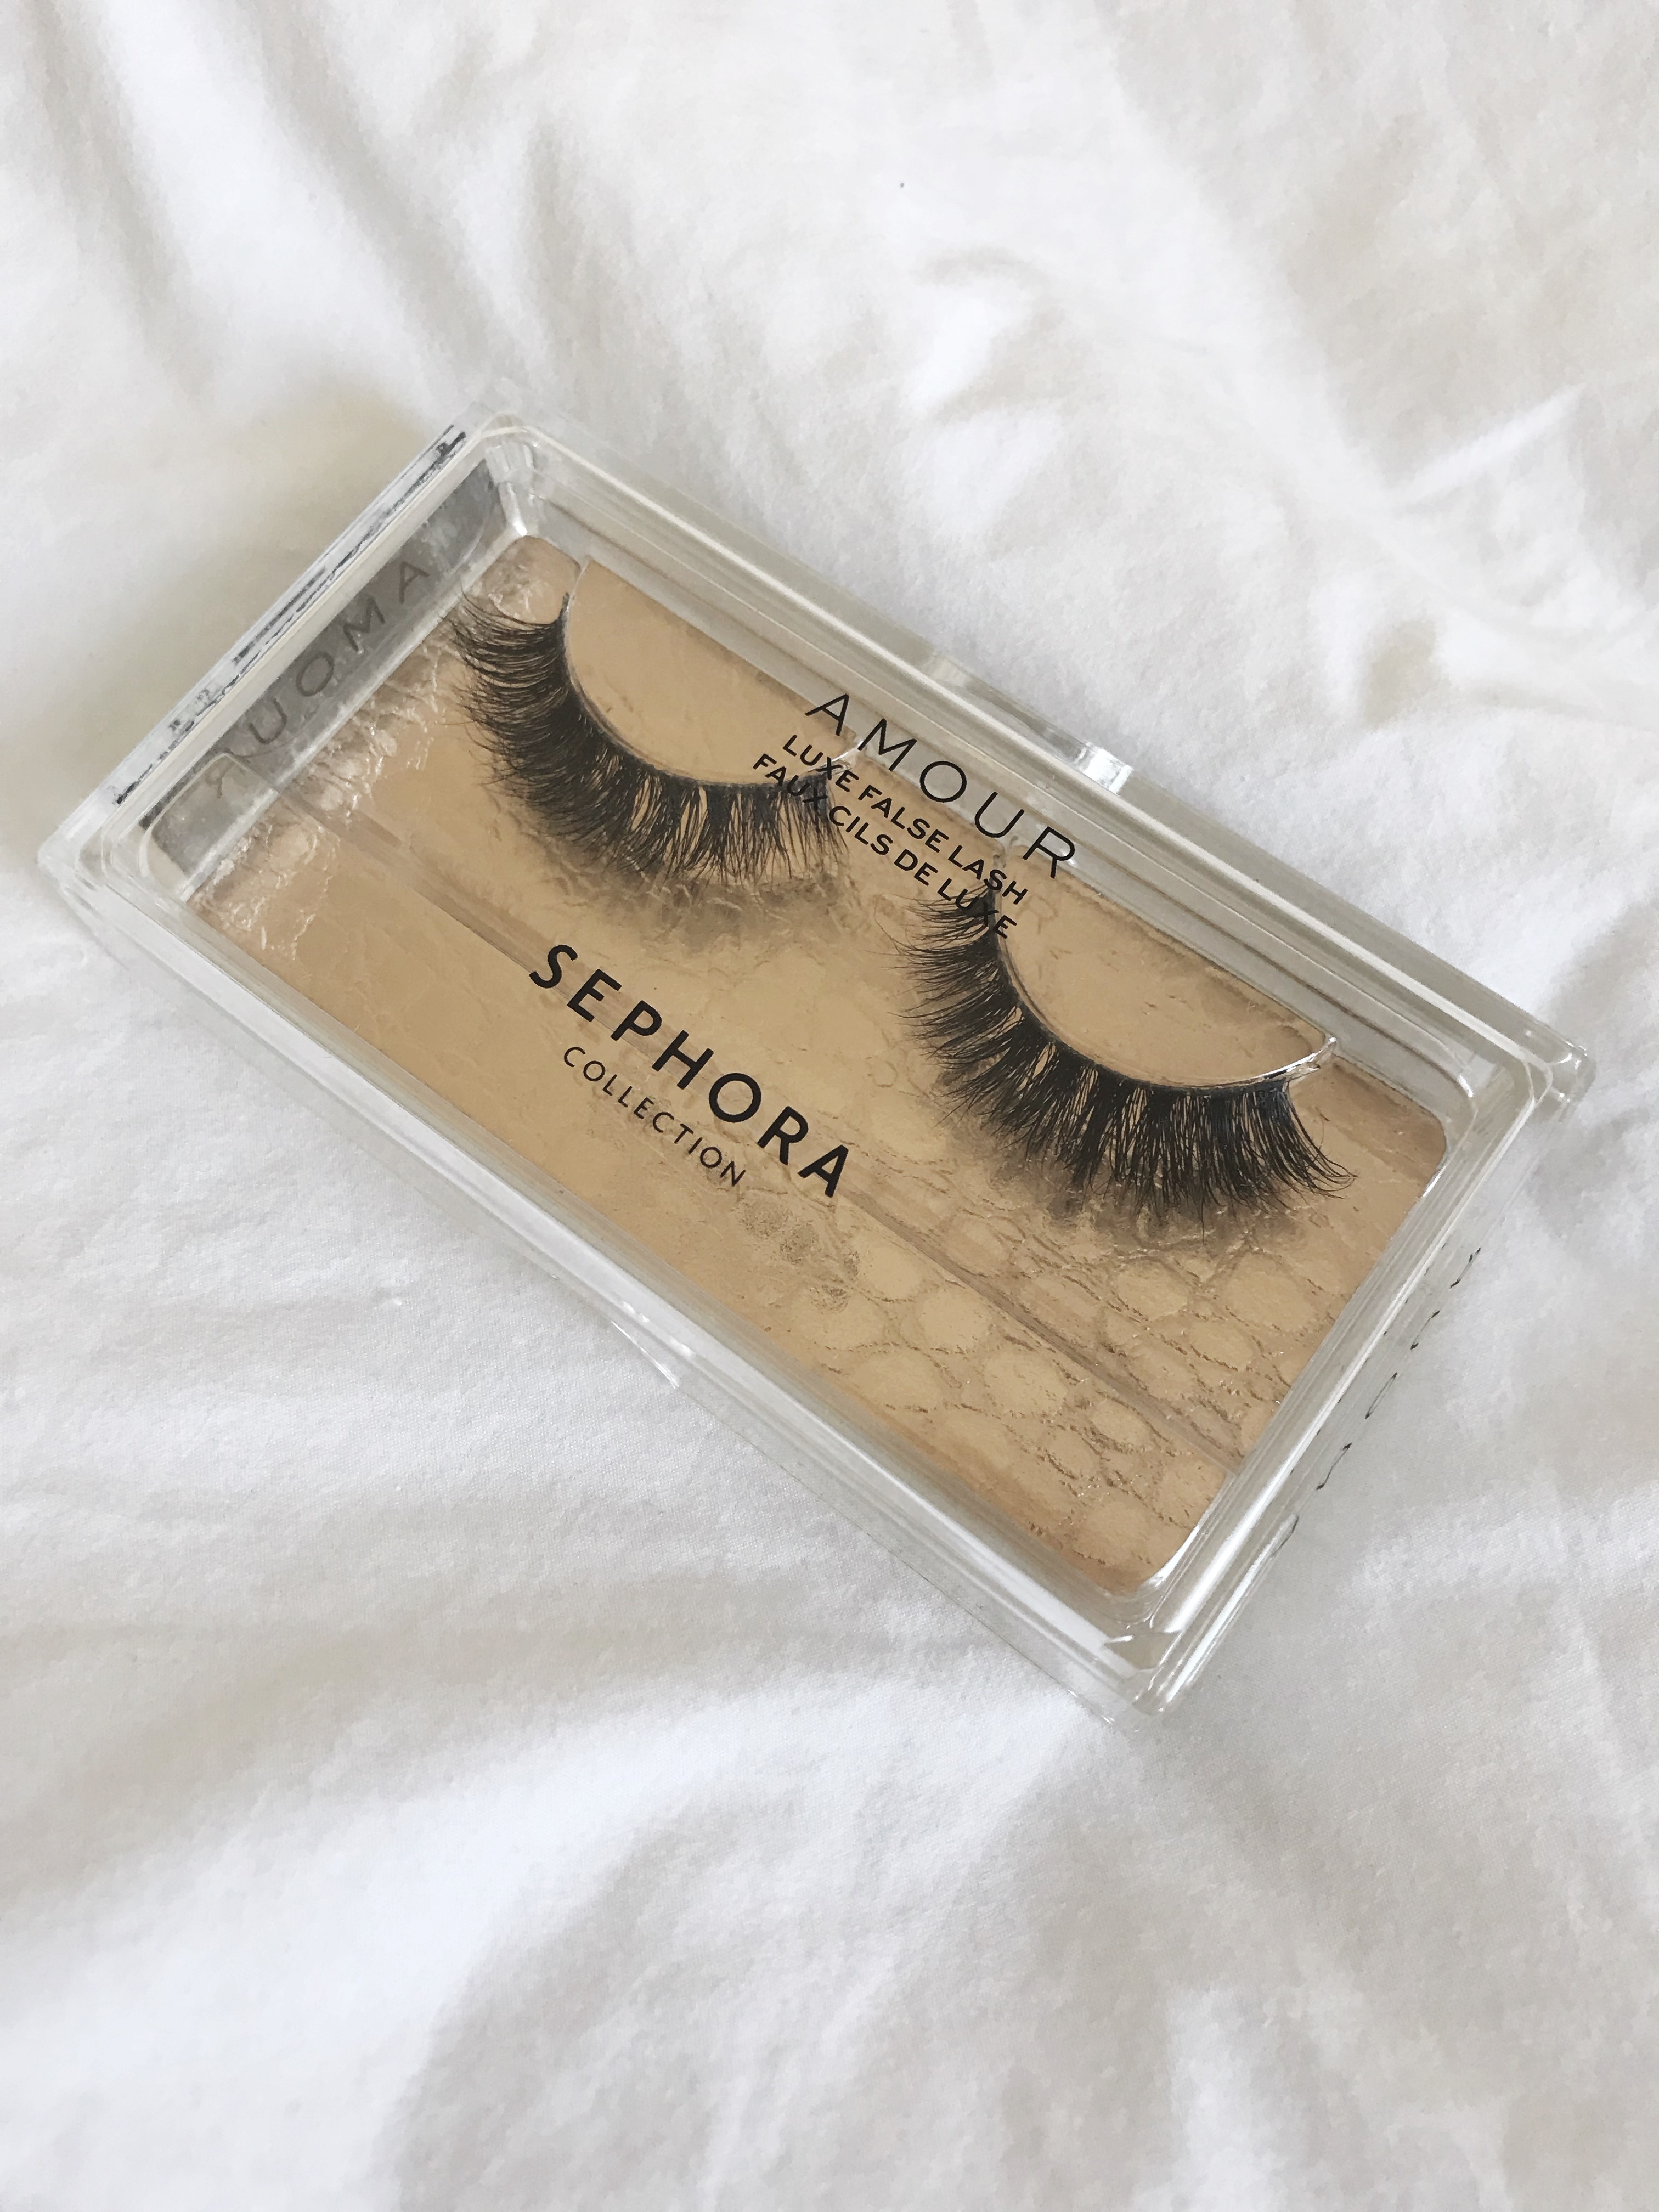
I’m back with a new Tuesday Favourites: the Sephora Amour Luxe Lashes! I’ve been using false lashes for years, I honestly can’t go out to a social event without them. I literally feel naked. I have a couple of other fave fake lash brands, but these right here are my absolute faves.
Although I’ve been meaning to try lash extensions for a while, but every time I chicken out because I’m afraid I’ll be allergic to the glue, worried about the upkeep and damaging my lashes. But these lashes right here 100% look like extensions — often times when I wear them, people are shocked they’re strip lashes or even can’t believe they’re not my real ones. The hairs are super delicate and well-placed, giving a nice, full-lash appearance, that is a little dramatic, but Sephora also carries more styles in this line that are more/less intense, depending on what you’re looking for.
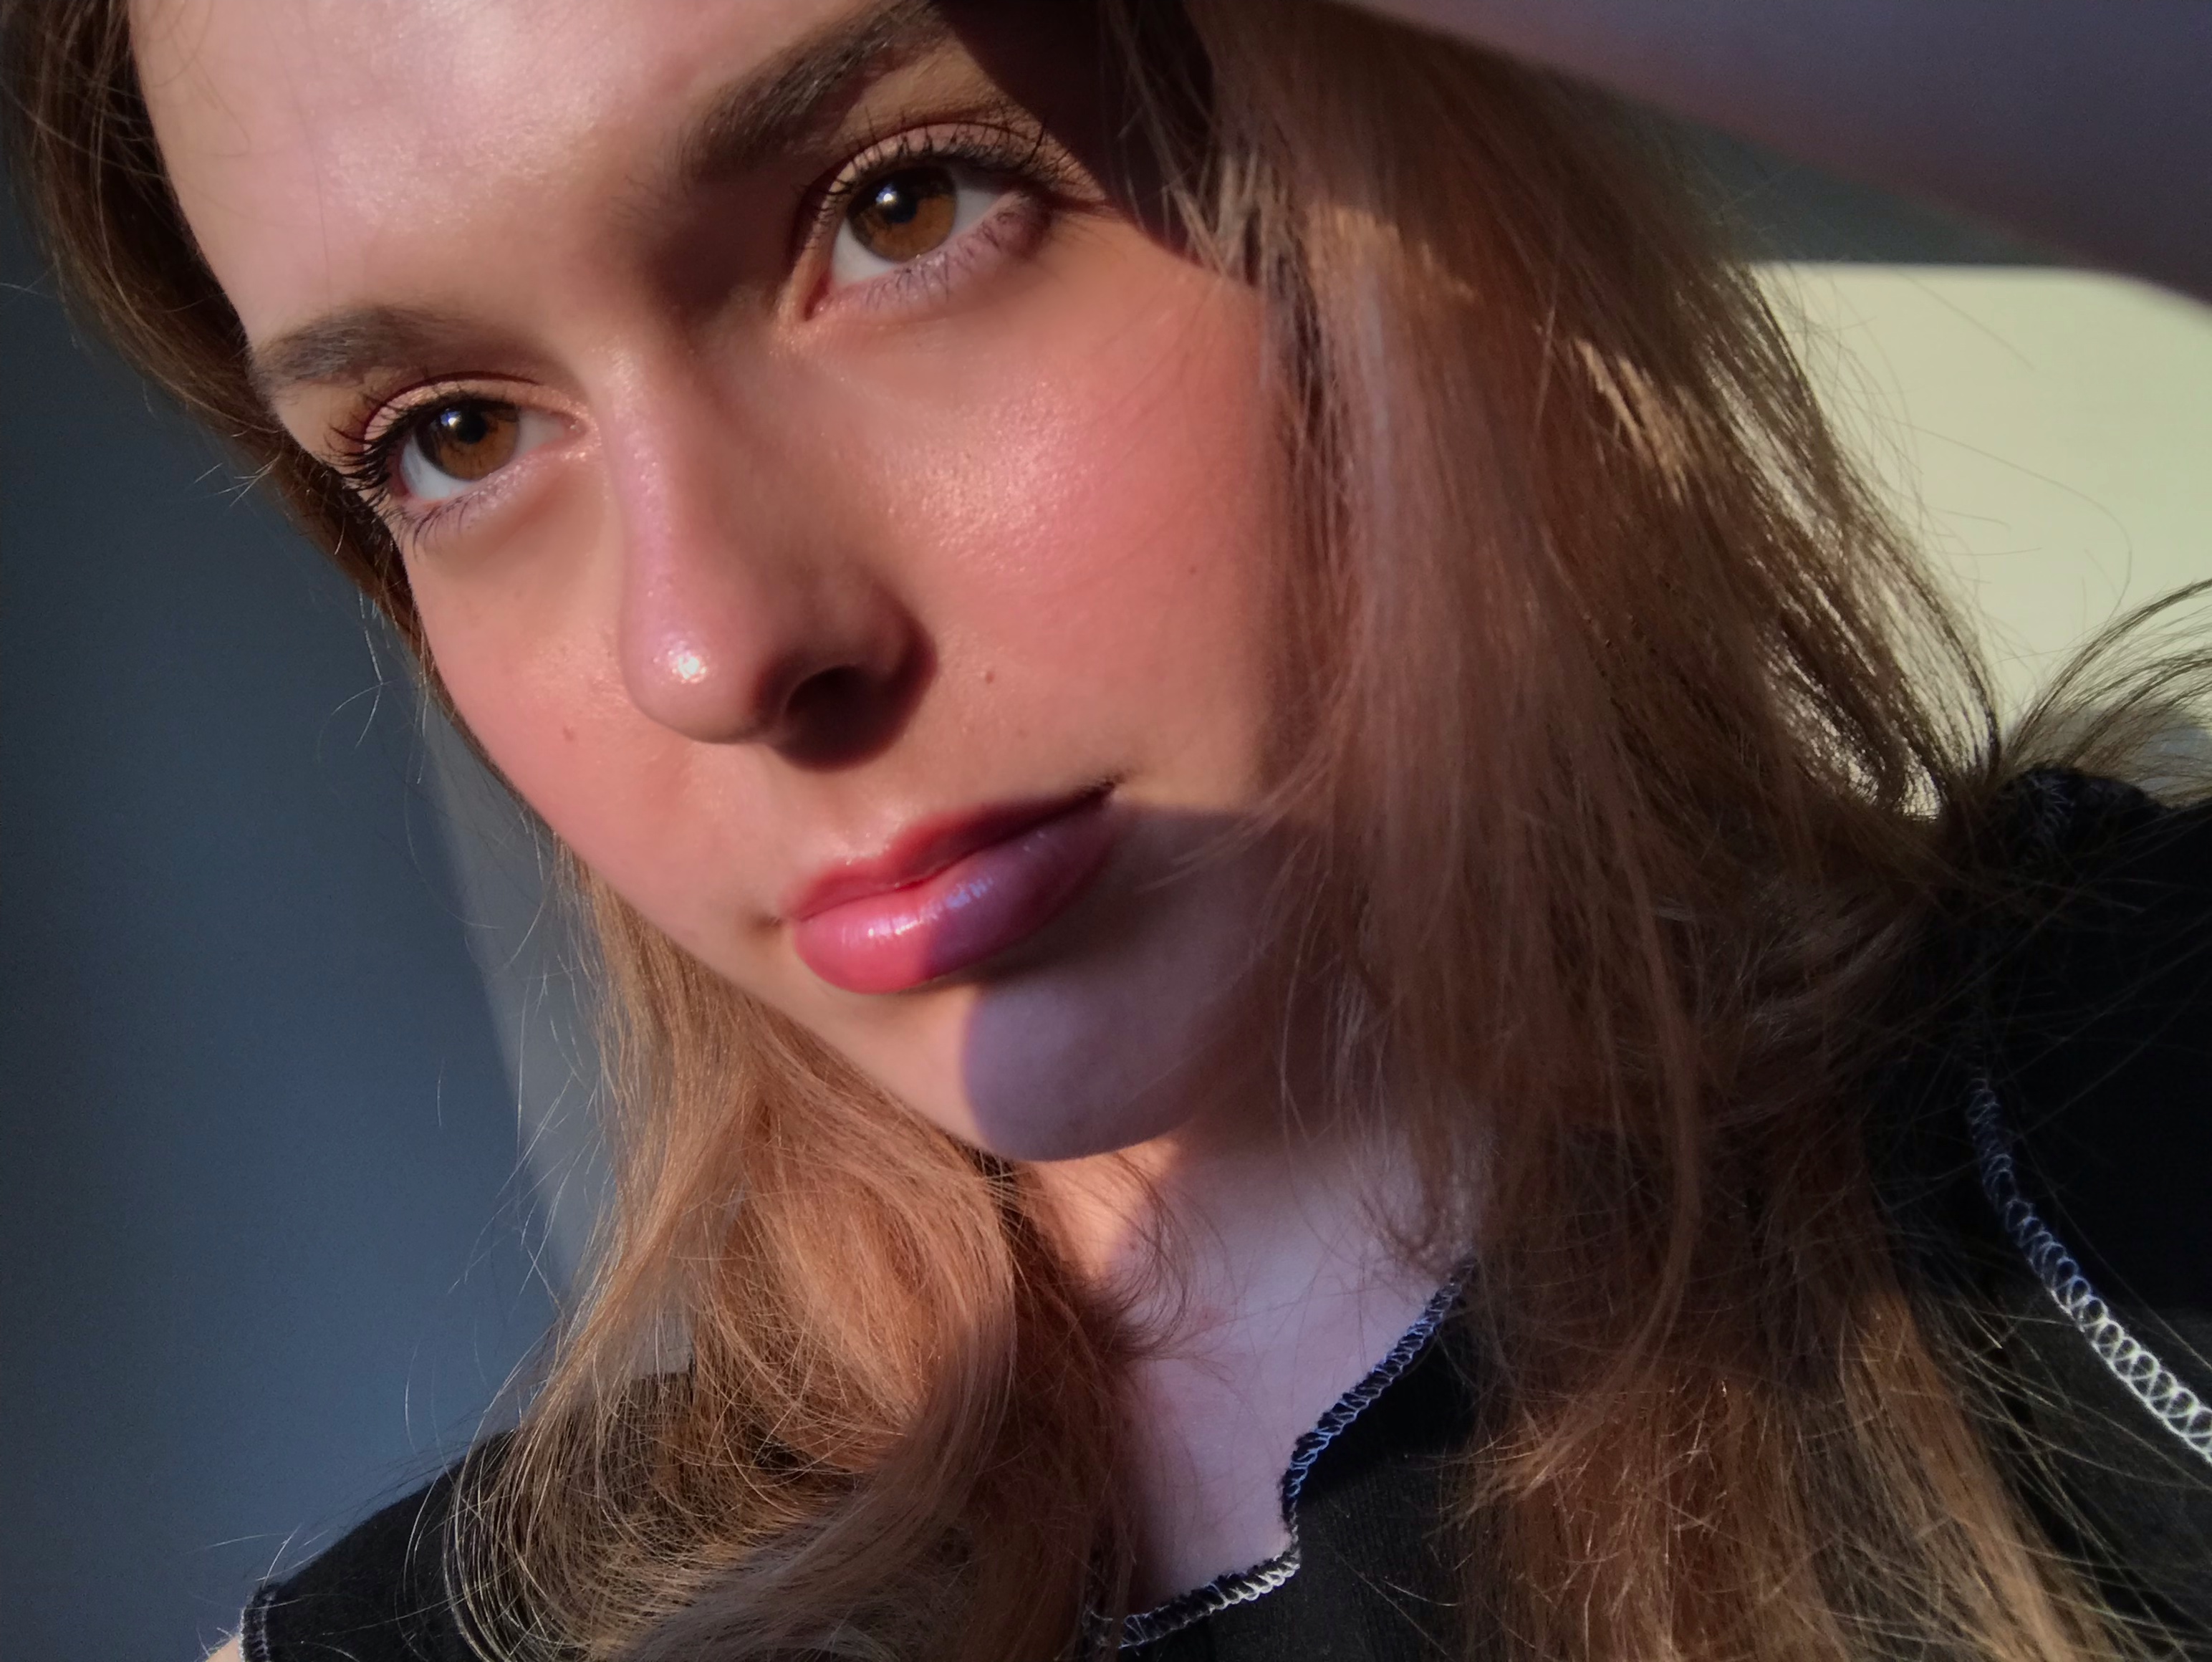
Me wearing Sephora Amour Luxe False Lashes, April 2018
The other fantastic thing about these lashes is they’re super easy to apply. They have a super flexible, stretchy base that makes them easier to fit into your lash line than any other lashes I’ve ever tried. This is perfect for beginners because I know how daunting false lashes can be — but if you’re looking to try, these ones are amazing. I can literally apply them in seconds.
The only downside of these lashes is their durability. Most other expensive lashes you can buy at Sephora can literally last for a month with proper care. However, the delicacy of these lashes, as well as the flexible strip that makes them so easy to apply, causes these lashes to last for about a max of 5 uses. However, they always look best the first time, and start to look a little worse for wear around the third. That being said, they’re still my #1 favourite lash brand — they look more natural than any other lashes I’ve tried.
If you wanna check them out, you can find them at Sephora here! I may honestly make a post highlighting all my fave lash brands in the future, so if you’re interested stay tuned!
As everyone knows, makeup is a huge love of mine. However, you also all know I’m no professional. While I have my day-to-day full face pretty well down, one thing I tend to struggle with for extra-special events is eyeshadow. Especially if I’m going for an extreme look, I’m just no where near as good at it as I am with other aspects of my makeup.
Which brings me to this weeks product: the Stila Glitter and Glow Liquid Eyeshadow! I always had my eye on this stuff, but never actually went out and bought it for myself. Luckily, my aunt got it for my birthday last year! I immediately pulled it out and swatched it and was blown away at how bright and glittery it was. Furthermore, I went to wash my hands later and it didn’t even budge.
Now, I know liquid eyeshadow can be a bit intimidating. The first time I used it I started panicking when it wouldn’t blend. This stuff definitely requires a bit of a different process when you go to apply your eyeshadow. What I typically do now is apply my transition shades, apply this over my whole lid, and then apply the outer corner makeup on top and sometimes use a powder gold shade to help blend. You really can’t blend this stuff much at all, but if you blend on top it looks just as blended as regular eyeshadow would!
What I love about this stuff is the sheer intensity of the colour, as well as the simplicity in applying it. Just swipe it on, its so easy to get it to apply super accurately and smoothly and as soon as it dries it won’t budge. Without fail, every time I use it I get compliments on it and how pigmented it looks.
So, there you go! If you struggle with intense eyeliner looks this is totally the product for you. You can check it out at Sephora here! They literally have almost any colour you could ever want and personally I’m certainly gonna invest in some more soon.
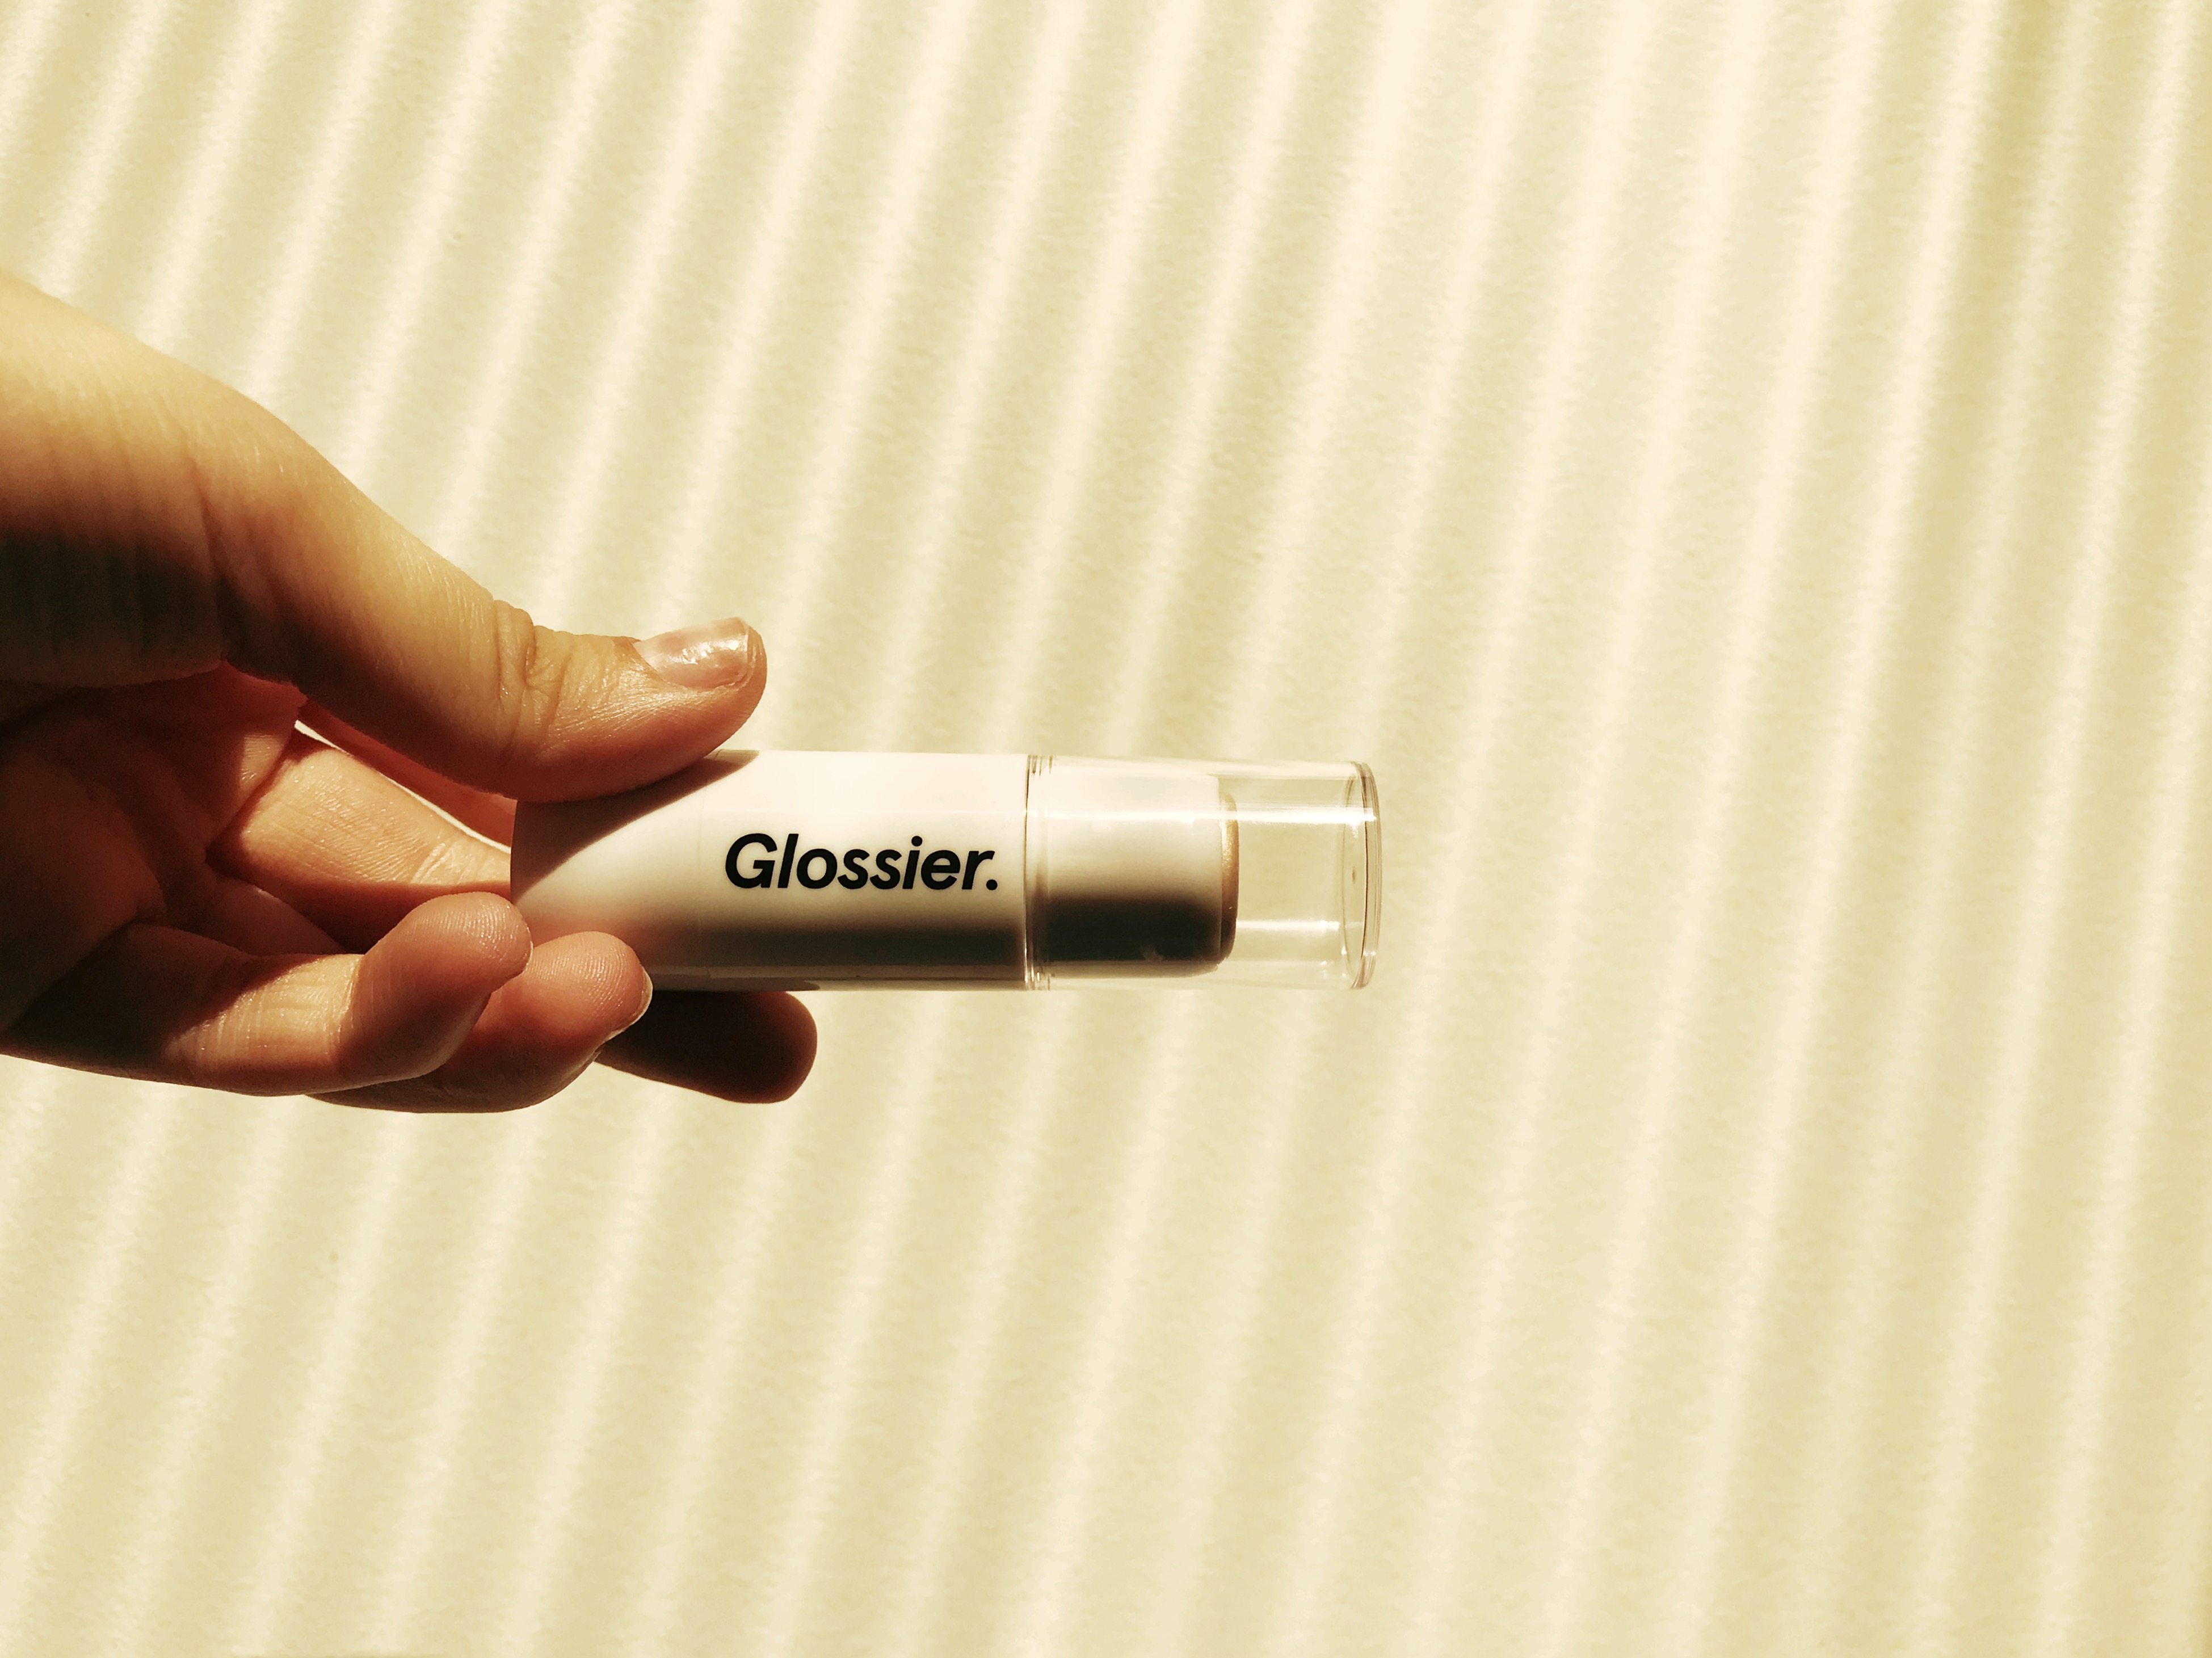
I’m back with another review for you guys! As some of you know, I’m leaving next week on a backpacking trip across South East Asia (which I’m very excited to share with you all!) and have been facing the challenge of fitting everything I need for a month in one backpack. As someone who is admittedly rather high-maintenance, packing light has never been my forte. Furthermore, there’s the whole issue of a full face of makeup likely not holding up super well to the climate where I’m travelling. This gave me the perfect opportunity to try out some of Glossier’s products I’ve been eyeing, as they are usually cream based (no brushes required) as well as supposedly super light. I’ve purchased from Glossier once before, and have a Tuesday Favourites coming up detailing how much I love their Balm DotCom lip products, so I’ve been looking for a while to try out some more of their products.
Glossier Perfecting Skin Tint
Glossier Perfecting Skin Tint Shade #G8
Soooo, the first product I tried was the Glossier Perfecting Skin Tint. I had some hesitations with this one as I’ve seen a lot of reviews saying it made no difference in their skin, as well as having the consistency of water. However, adding this to a set with the concealer (which I was going to purchase anyway) came for $44 with the concealer being $22, and it seemed smart to pack something super light for my trip. The moment I poured it out of the bottle though, I could tell the reviews were correct — I usually only use tinted moisturizer, which is light coverage, but this stuff really redefines light coverage. On the bright side, it blended into my skin super easily — but whether that was because it’s a good product or because it simply made no changes to my skin at all is up for debate. I’m still going to bring it on my trip and will be sure to update y’all if I change my mind, but for now the verdict is unfortunately: leave it.
Glosser Stretch Concealer
Glossier Stretch Concealer Shade #G8
Okay, so I have a bit of a mixed review on this one. On the plus side, its super compact and light, and doesn’t seem to have creased since I applied it. However, at the same time, I felt when I was applying it that it didn’t really conceal my dark circles. I notoriously have permanent bags and circles under my eyes, which is one of the things I’m most insecure about and use makeup for the most. However, afterwards when I was taking photos for this post, it seemed to have done a better than I first thought. I guess I’m just gonna have to see how it holds up to day to day life, and if y’all are interested I can share updates later on. However, the verdict for now is: we’ll have to wait and see.
Glossier Cloud Paint
Glossier Cloud Paint in Shade Beam
Okay, I won’t lie, this one really took me by surprise. When I first opened it, I was super spooked by how bright the colour was, and I figured there was absolutely no way this would look good on me, or anyone, really. However, after blending it into my skin, it actually turned from less of a bright peach and more into a natural pink flush. I’ve never used cream blush before, and we’ll see how it goes over the next month, but honestly? I could be down to use this product in my daily routine when I’m back. It looked SO natural and dewey, it was honestly unreal. Plus, it was only $22! Verdict: LOVE IT.
Glossier Haloscope Highlighter
Glossier Haloscope Highlighter in Shade Quartz
I’ve been seeing ads for this product forever and I’ve always been super curious. In reviews of Glossier products I’ve seen before, people often rave about this stuff, but note that it gives a natural finish (versus a blinding highlight). However, since I’m used to Vancouver weather and am probably going to melt in Asia, I figured that would be more than enough as I’m sure I’ll already have that #naturalglow going for me (aka sweat). This stuff didn’t 100% blow me away like the blush did, but it does have a lovely natural finish and I think I’m really going to love the simplicity of applying it. It still feels a little oily on my skin a few hours later, if that’s the best way to describe it, but it is rather balmy with a built-in moisturizer so it’s not quite greasy (if that makes any sense). So, the verdict for now is: Love It!
Glossier Lidstar Duo
Glossier Lidstar Duo in Shades Cub and Slip
Last but not least, we have Glossier’s Liquid Eyeshadows, called Lidstar. I was pretty excited to try these as a) I haven’t really tried liquid eyeshadow before and b) the simplicity of being able to wear eyeshadow without using a brush sounded amazing. I’ve seen reviews before where people were disappointed with the pigmentation of the product, however I think they expected it to look like a foil, which I didn’t expect. These eyeshadows, amazingly, feel super soft on your skin, as well as blend out like a dream. The only issue I had was that they kind of seemed to crease a little when I first applied them; but that could have just been because I applied them too soon after my primer. I blended it out with my finger quickly and they haven’t creased at all since. They are super light in colour, however I feel that makes them perfect for an everyday eyeshadow as I don’t love wearing heavy eyeshadow in the day but often have trouble finding light colours that look good. Honestly, I’m probably gonna invest in more of these in the future. So, overall, the verdict is: LOVE IT!
So, there you have it! After I completed the look, I finished up with a couple of my normal non-Glossier products — mascara, brow pencil and brow mascara, as well as bronzer. I will say, I was a little disappointed Glossier didn’t carry their own bronzer, as liquid/cream bronzer would have been a godsend on my travels. However, I’m pretty impressed by the products I did try and can’t wait to rock them in my future travel blogs! You can see how the finished look turned out in the photo below, but I’m pretty satisfied with it. If you’re interested in trying out Glossier’s products, be sure to do so here!
Hey lovelies! Welcome back to my third ever Tuesday Favourites!
This week I’m sharing my fave brow products: the ABH Brow Wiz pencil and Brow Mascara by Benefit!
As someone who jumped on the brow trend as soon as Cara Delevingne popularized the dark, thick brow back around 2014, I’ve been through many brow products and many styles, some for better but many for worse.
Obviously, to each their own, but as someone who used to fill in their naturally light brows with thick, dark brow pomade (and not particularly well, I might add) I personally love a natural but precise look. When I get my eyebrows done, I try to keep their natural shape as best I can, and then simply fill them in a little darker everyday.
For those of you who struggle with sparse, patchy brows or want to be able to outline with precision, this ABH pencil is for you. It has a super small tip, which allows me to outline my brows accurately and fill in any patchy areas super easily, while being able to keep my brows looking uniform.
Then, for a natural and well-finished look, I use the Benefit Brow Mascara. I love how this product darkens and defines my brows, while also keeping them in place all day. It gives a natural look with hair definition, and overall keeps my brows looking super sharp while still sticking to a natural finish.
While I personally ADORE these products, I feel like brows are one of the more personalized aspects of makeup, and while one product may work wonders for me it won’t do much for someone else. However, if like me, you have patchy, light eyebrows you want to keep looking sharp yet natural, I highly suggest this combo! As well as in general, even if you simply use a clear mascara, brow mascara seriously is one of the greatest products I’ve ever tried. I had doubts for so many years about it working well or looking good, but as soon as I tried this stuff I was sold.
Feel free to check out the ABH Pencil here, as well as the Benefit brow mascara here.