This Tuesday, I’m starting off with a bit of a weird confession: I have never shaved my legs in my life. Not once.
That being said, I personally prefer to keep just about all my body hair removed — save for my lashes and brows, of course. (Side note: does anyone else feel like a totally new person every time they get their brows done? It’s one of my favourite feelings in the world).
So, basically, I’ve been waxing my legs my whole life. Since I’ve started waxing, I’ve kept up with it routinely — which for those of you who like smooth, hairless legs is a great way to go, as waxing eventually thins out your leg hair (or stops it from growing entirely!).
However, constantly going in for waxing appointments is time-consuming and expensive. Especially once I started high school, and especially in University, it just wasn’t realistic anymore. I tried out all sorts of other methods — Nair Cream, which I disliked for the smell and the irritation it caused me, as well as waxing strips, which I found to be an okay solution, but not phenomenal.
Which is where the epilator comes in.
Basically, if you’ve never heard of an epilator before, it’s a little machine that works as hundreds of tiny tweezers to fully remove your body hair from the root. It gives the same results as waxing, without the effort of heading over for monthly waxing appointments (or the costs!). I actually tried one of these out a few years ago, back when the technology was fairly new. At the time, I wouldn’t have really recommended it — it was an awfully expensive and clunky machine, and the hair removal job was just so-so.
However, a few weeks ago my friend Amanda asked me to grab her one of these off of Amazon and I was shocked by how cheap it cost — only $50, warranty included. For those of you keeping tabs, that’s easily the costs of two boxes of Nair Wax strips, or a couple packs of razors. The big difference here being — an epilator is a one-time purchase. There’s no refills or replacements, after you purchase it you should be good to go for a few years.
So I dropped two into my shopping cart — one for Amanda and one for myself. I was skeptical at first, honestly, since it was a fraction of the cost of the machine I’d owned in high school. How good could it really be? Luckily, when it arrived the next day, I found my answer: it blew the old tech out of the water.
This epilator painlessly and easily removes leg hair. It’s very gentle, and I’ve yet to have any sort of irritation come from using it — even with my sensitive skin. While I’m pretty unbothered by the pain of leg waxing by now, this hurts even less. To me, in fact, this machine doesn’t hurt at all. There’s no pinching, no ripping, just flawless, easy hair removal whenever you need it. Plus, like waxing, it’s upkeep is minimal — it doesn’t require any sort of daily upkeep that shaving requires.
If you’re like me, and enjoy keeping your legs smooth and clean-shaven, give this product a try! It may seem a little expensive up-front, but I swear if you’re buying razors or waxing it’ll save you money, time AND effort in the long run. If this sounds like the product you’ve been looking for, be sure to check it out on Amazon here!
That’s all for this week! Be sure to check in next Tuesday for more of my favourite products!
So, recently, I took a little trip down to Sephora (classic, I know). However, this time around I figured I’d do a little Sephora Haul post of everything I got and share with you some returning favourites, as well as some new things I just got to try out!
On top of all that, my list of stuff I want to try out from Sephora is both a) completely unrealistic to buy at once and b) expensive. I was going to include all the products I’m dying to try here before I got into my whole haul and realized that added my Wishlist was going to turn this into the longest post of all time, so stay tuned for that next week instead. I have a couple of products that caught my eye that I’m excited to try in the future — after I’ve used up whatever equivalent I’m currently using or when I can justify the purchase a little better. If you’ve tried any of them and have some feedback, good or bad, I’d love to hear it!
So, let’s get into it!
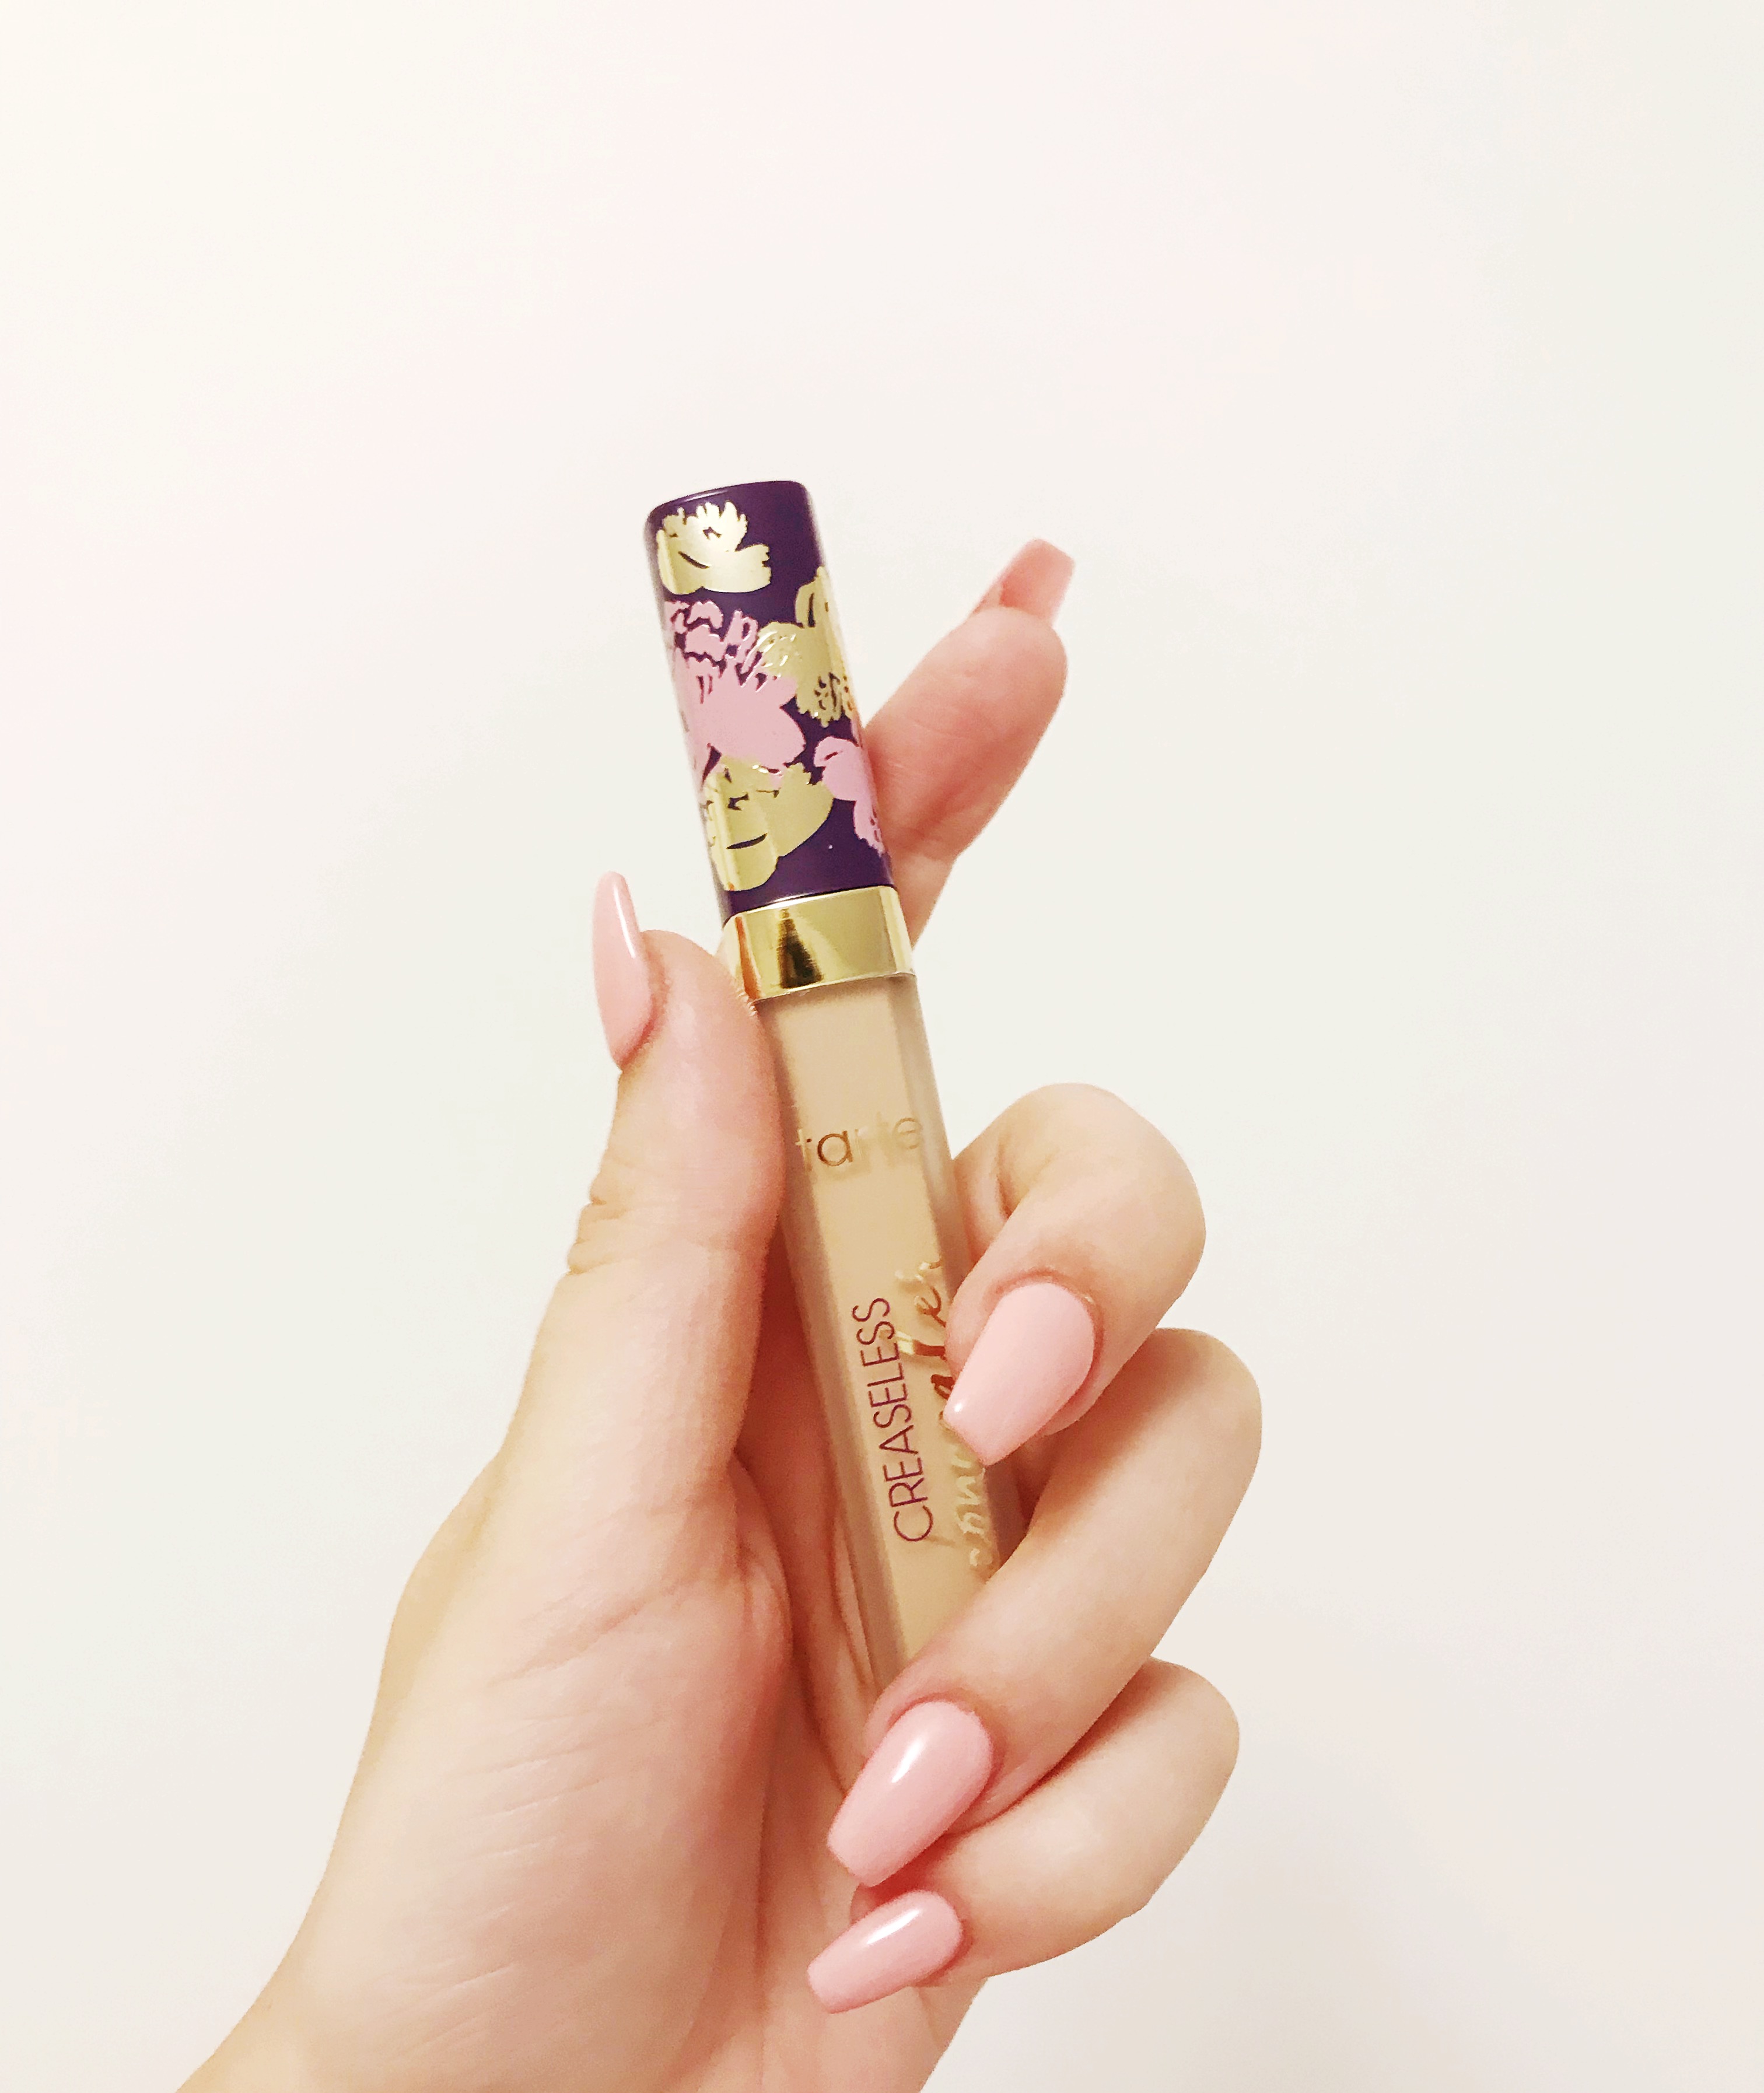
Returning Favourite: Tarte Creaseless Concealer!
Tarte Creaseless Concealer
I’ve tried out sooooo many concealers in my time, but this one is my personal favourite. I haven’t gotten the chance to make a Tuesday Favourites post about it just yet, but trust me, it’s coming. I suffer from some serious under-eye circles and while I’ve tried out many a concealer, none of them last all day and cover everything up like this stuff does.
New And Exciting: Biossance Squalene and Bamboo Deodorant!
Biossance Squalene and Bamboo Deodorant
Okay, maybe this is TMI, but I tend to be a pretty sweaty person and it’s the bane of my existence. I’ve tried out so many deodorants, from VERY all natural (read: Lush T’eo Deodorant, which sorry, I totally hated), to Dove aerosol spray, to men’s Old Spice (yes, seriously). While I usually go for Secret’s gel formulas (which are great since they don’t leave any obvious white residue) I sometimes find they don’t work all that well, especially around the end of the tube. On top of all this, I’d like to have something natural — we’ve all heard about the dangers of aluminum in deodorant, and since I’m a pretty frequent user, I’d like to limit the chemicals I’m applying daily. I saw this stuff at the checkout line and immediately grabbed it and threw it in my basket. Sephora offers a bunch of all-natural deodorants, but I love love love Biossance, so this one immediately caught my eye. Fingers crossed it works, I’ll be sure to update you all if it goes well!
Returning Favourite: Lilly Lashes (Miami)
Lilly Lashes in Miami
Y’all already know I love lashes, and I promise a post on Lilly Lashes is coming soon. While I’ve already done a post on my other favourite lash brand, Sephora’s Luxe Lashes, these ones are a favourite for totally different reasons. They still look pretty natural, however I don’t find them as easy to apply or as flattering as the Luxe Lashes. The big upside here is that these lashes can last forever. Seriously, they are so well made — as long as I don’t lose them I can use them forever. While I tend to spring for the Luxe Lashes for specific events as I do like their appearance just a little more, these ones are also stunning and make a great lash for weekly use.
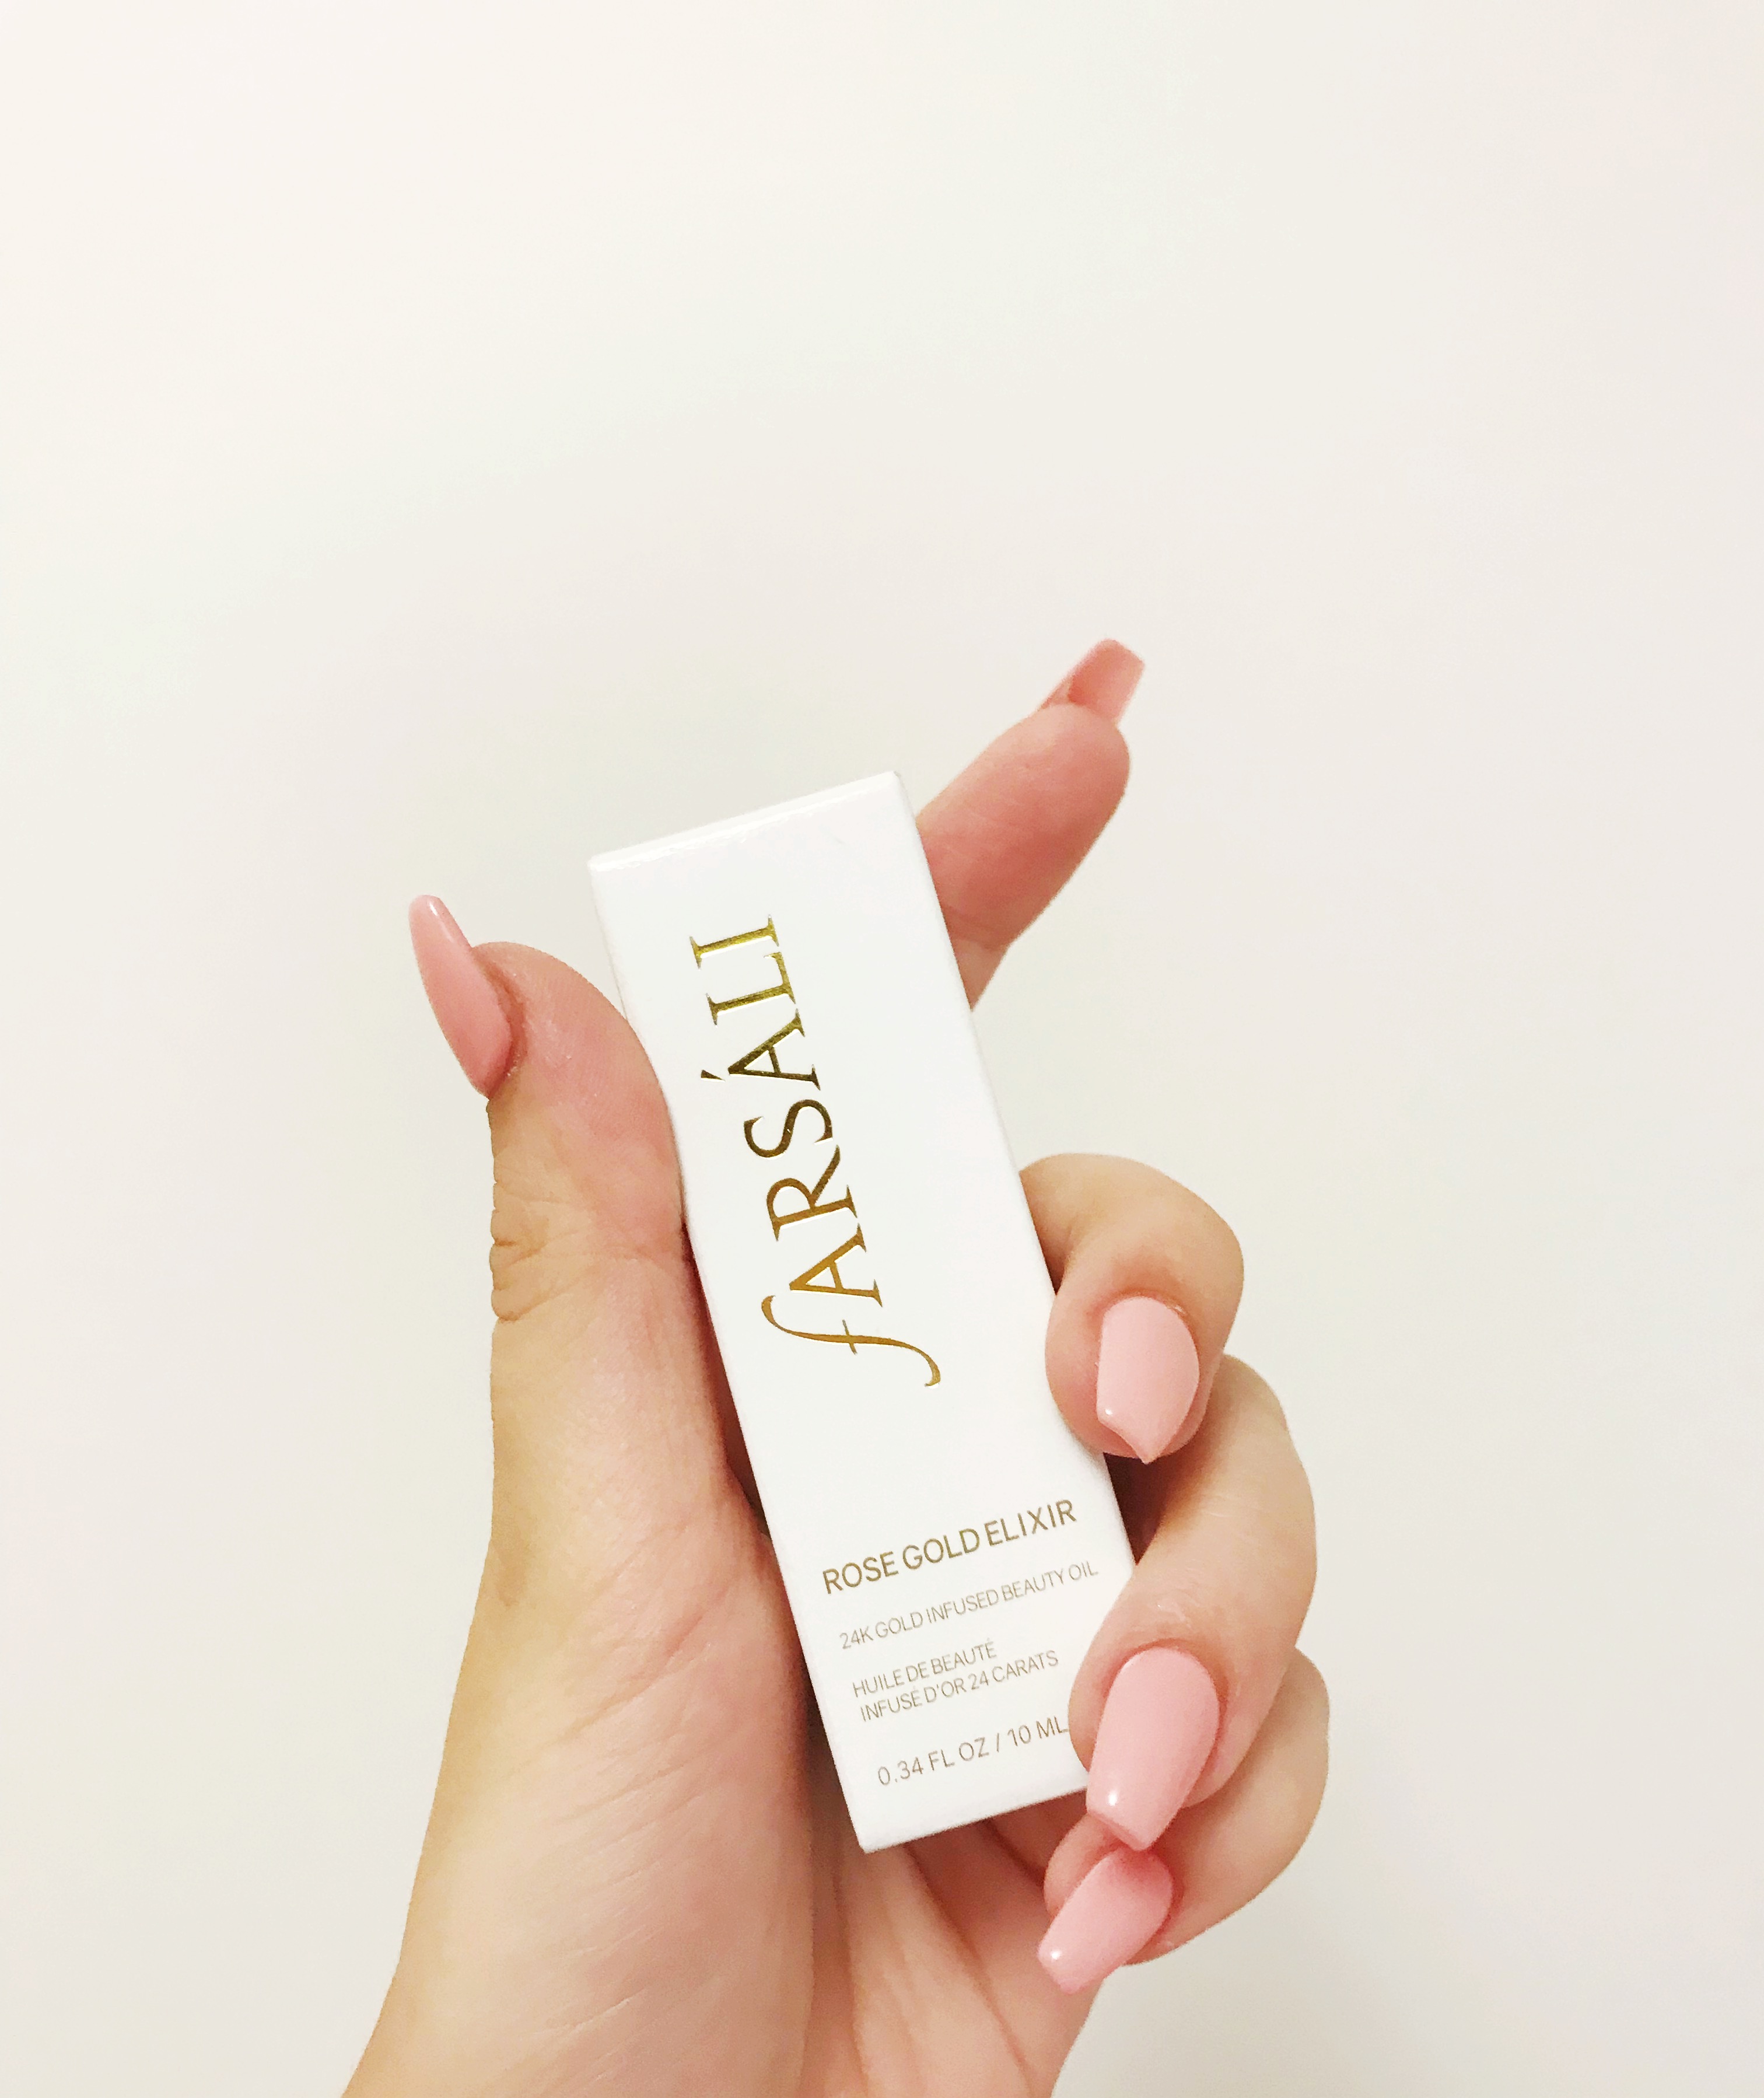
New And Exciting: Farsali Rose Gold Elixir
Farsali Rose Gold Elixir
If you’ve ever seen an Instagram makeup tutorial, like, ever, you’ve probably seen Farsali elixirs before. They’re super popular amongst make-up influencers for application under makeup, or even mixed in, for a fresh and dewey look. I’ve never been ready to commit to a whole bottle, as I wasn’t sure it was really something I really needed — but I was always curious. When I saw this sample sized bottle, I knew it was the perfect opportunity to give it a try!
Alright, you guys already know I love Tarte. This product has always been one of my favourite mascaras and frequently in my rotation. Mascara is one of those products that I actually switch up pretty frequently; I’ll admit I’m pretty married to most of my other makeup items and rarely stray from what I always buy. With mascara, however, I’ve always had a couple of favourites that I switch out, and I’ll try out new products that catch my eye every so often as they only last three months anyway. This one reigns as one of my favourites, as I find the brush a great shape and the formula pretty fantastic — as well as the added eyelash conditioning bonus. Be sure to stay tuned for a post on all my favourite — and least favourite — mascaras I’ve tried!
Returning Favourite: The Beauty Blender!
Blender Sponge by Beauty Blender
I won’t go too deep into this one since I’m sure most of you are at least a little familiar with it. I’ve never met a better makeup applicator, and have pretty much been married to this sponge since I bought my first one. I seriously can’t remember a time I’ve purchased a different sponge or foundation brush since.
New And Exciting: ABH Matte Lipstick Set!
Anastasia Beverly Hills Matte Lipstick Set
Anyone who knows me knows I have never been a matte lipstick gal. From the start of the matte lipstick boom a few years ago, through its peak, it was never a favourite of mine. While I tried to hop aboard the trend, I always hated the dryness of it, how it looked when it wore off and was re-applied, and even the look — I just never personally never found it attractive. (This, along with straying from the bold-brow and contour trend, was actually a huge turning point for me in learning that I don’t always have to follow what’s trendy and a product’s popularity doesn’t mean it’s what looks best on me). Through and through, I’ve mostly stuck to gloss or non-matte lipstick through the years until they started to finally come back in style this last year. However, I occasionally spring for the occasional matte lipstick — I find at least non-liquid matte isn’t as drying and doesn’t give as extreme of a matte look which I indulge in sometimes. This product (and the surprising low price of it) caught my eye near the checkout, and I decided to give it a try as most of the colours have a shimmer and the sample size of them is fairly low-commitment. I’ve never tried ABH Lipstick but the brand is one of my favourites, so I’m sure these won’t disappoint.
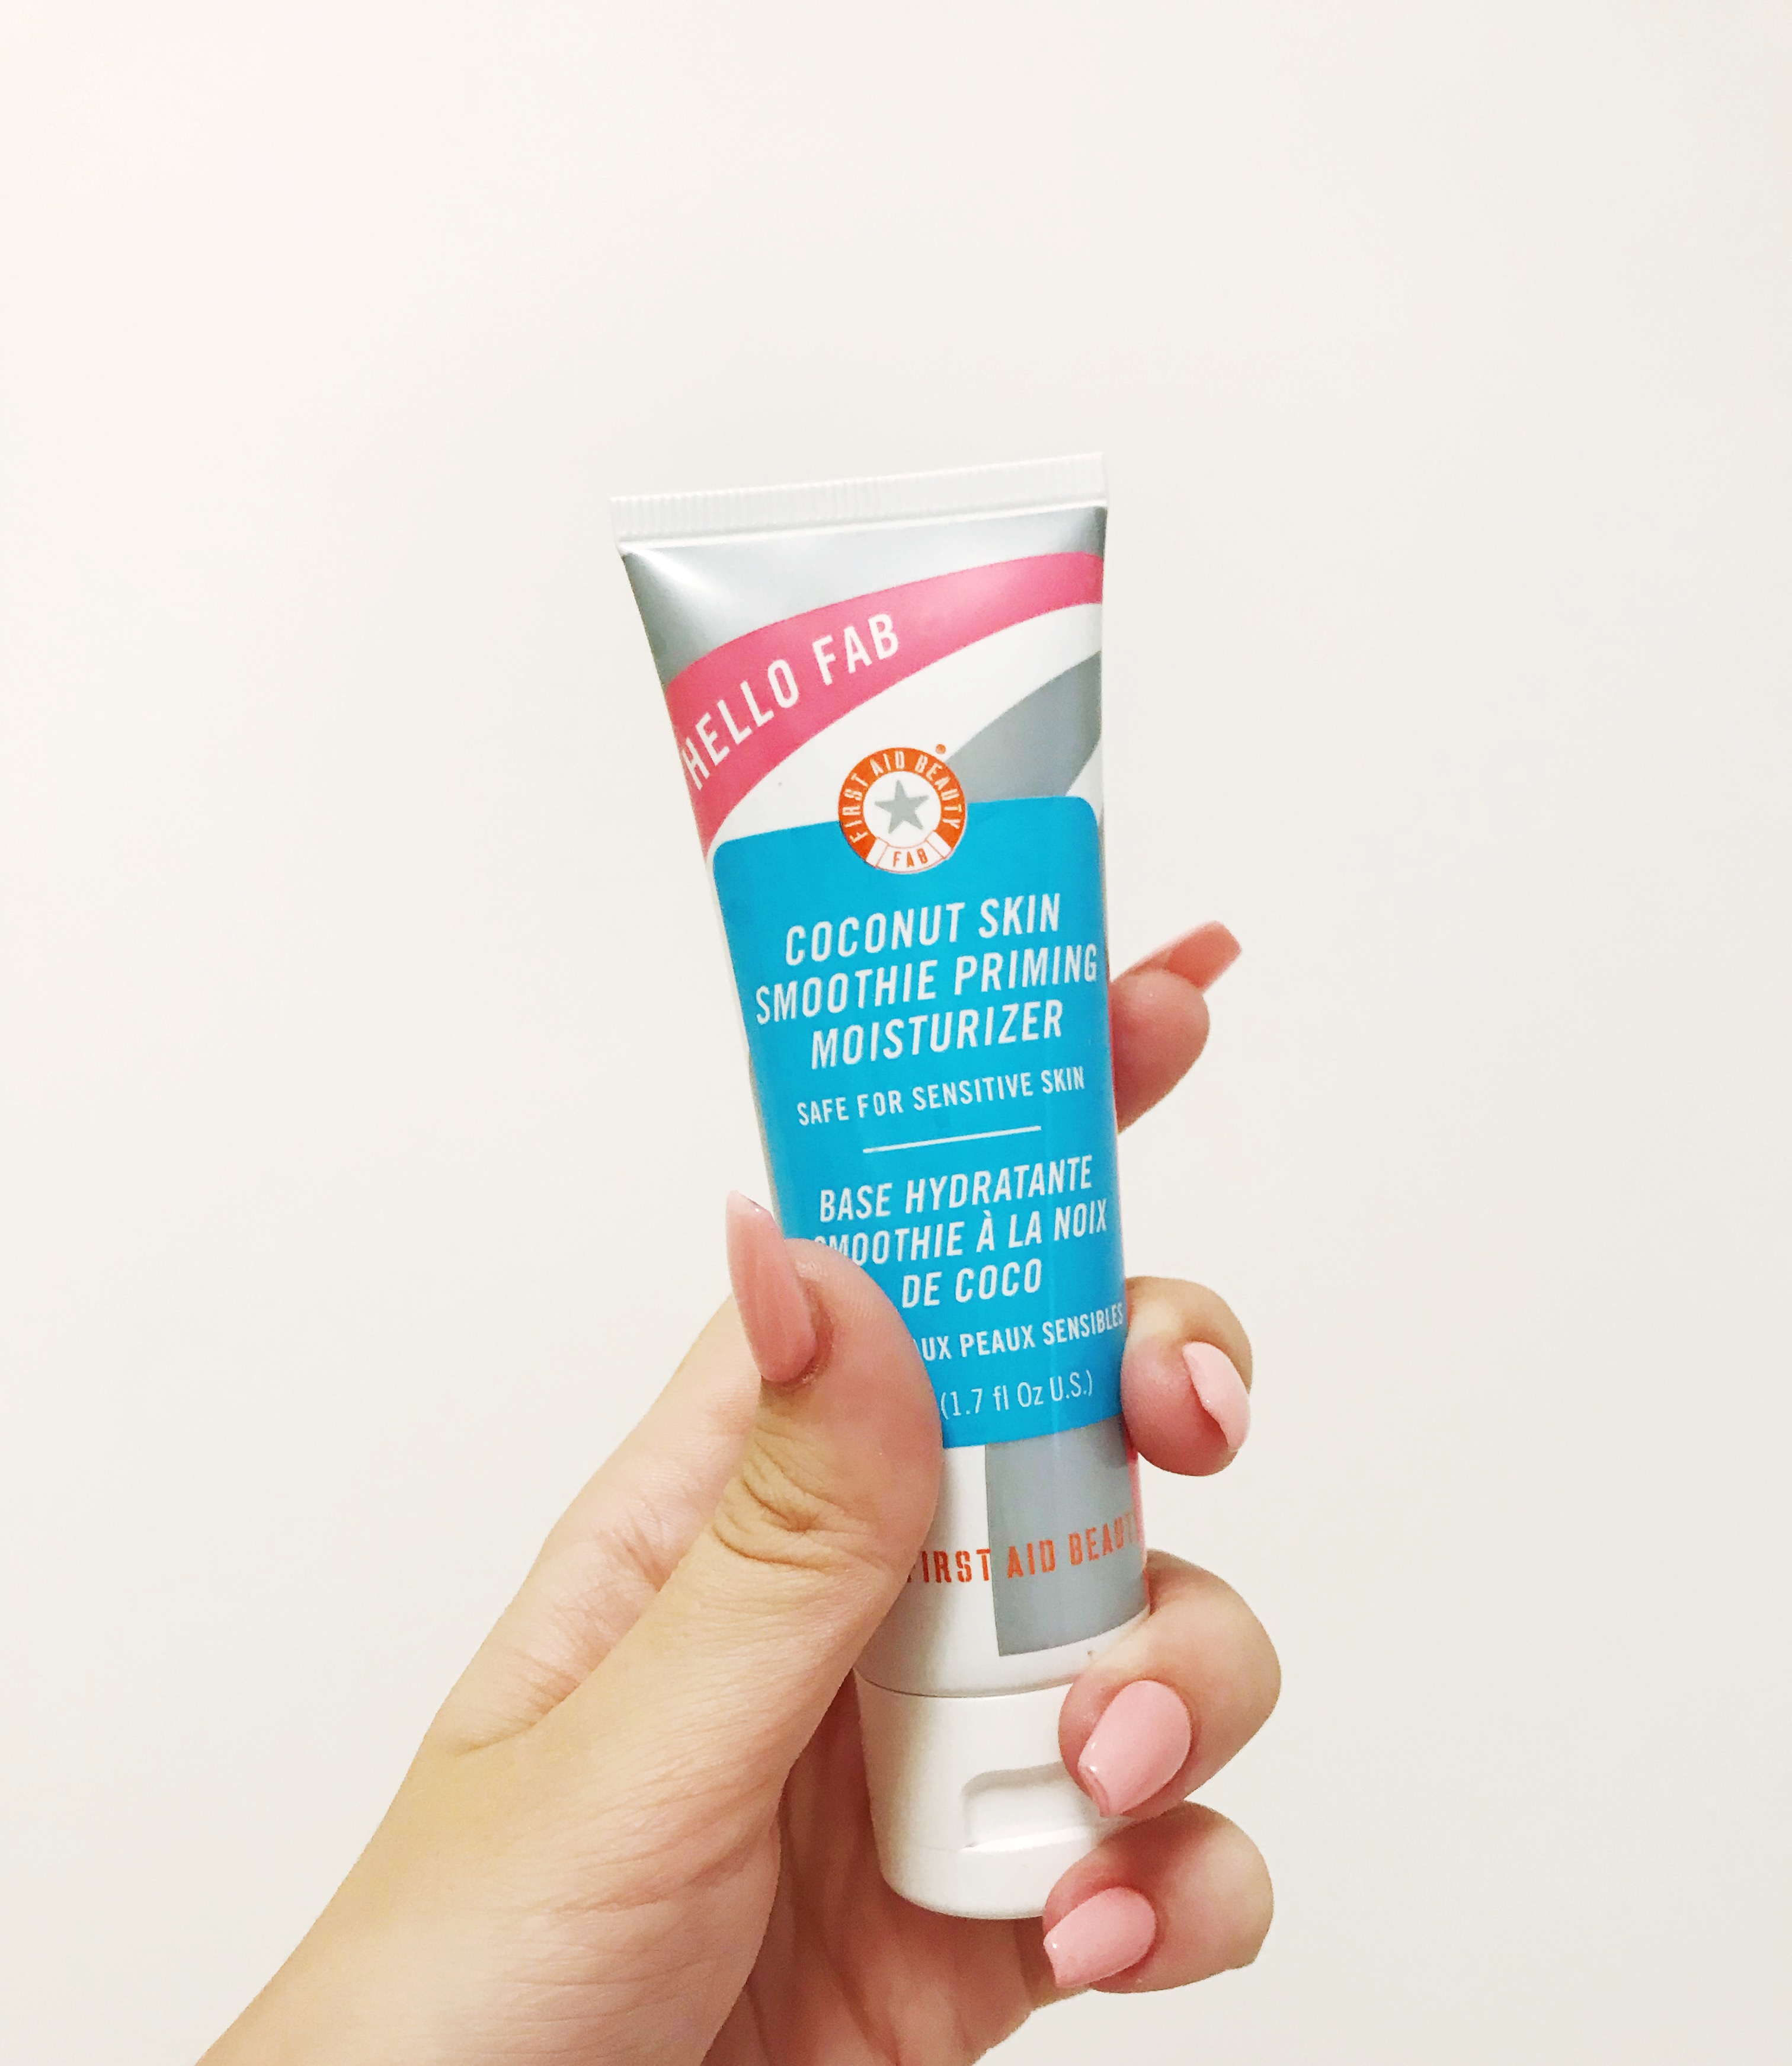
Returning Favourite: Hello Fab Coconut Skin Smoothie Priming Moisturizer!
Hello Fab Coconut Skin Smoothie Priming Moisturizer
Okay, this product’s name is a bit of a mouthful. But this stuff is fantastic — it can double as a moisturizer even when you’re going out sans-makeup and has a lovely glow to it that illuminates your complexion. My skin is generally on the dry side, so I find this product works wonderfully to give my skin a little extra moisture before I start my makeup routine. While I’m not 100% married to it like I am with many of my other products, I’ve used it consistently as a primer for about a year now.
Returning Favourite: Benefit Gimme Brow Mascara!
Benefit Gimme Brow Mascara
I won’t go too deep into this one since I already made a whole post about it here. However, if you’re one for a more natural brow look, brow mascara is a product worth looking into — it helps define your brows while also holding them in place all day. Plus when it comes to brows, Benefit is one of the best.
And that’s all for my haul! Stay tuned to read all about my wish list of Sephora products — I have so many things I’m dying to try and I’d love any feedback before I go out and purchase them!
As always, much love,
Meredith
BONUS: Inside look at the Farsali Elixir — I’m already in love!
So, today I figured I’d share a little tutorial: how to create a natural, sun-kissed freckled look. With the last few weeks of summer coming up, it’s time to take full advantage of the tanned summer look. While it can be nice to look super glowy and golden all summer long, many of us have busy lives and can’t afford to hit the beach every day. Plus, for those of us without freckles it can be a fun way to switch up your look! However, it can be tricky to make them look natural, hence the growing popularity of products to help mimic a freckled look. But with these easy steps, I can show you how to freckle your face with products you likely already have at home.
Step One: Do Your Regular Make-Up!
I do my freckles as the last step in my makeup, so to start your just going to do your makeup as usual. I find that freckles look waaaaay more natural on skin that looks naturally tanned (even if you’re super pale). The best way I achieve this is with bronzer. I usually start off with a matte bronzer (I personally use Too Faced Chocolate Soliel Matte Bronzer) and apply it all over my face and cheekbones using a large powder brush as I find it makes my other makeup blend more naturally.
Then, I take a shimmery bronzer (I like the use Hourglass Ambient Lighting Bronzer, it’s one of my personal favourites) and apply it to my cheekbones, temples and jawline with an angled bronzer brush. I find this works best if you go in lightly on your forehead/jaw. To make it look as natural as possible, be sure to blend your cheekbones right up into your ear.
Finally, and most importantly, I take some shimmery bronzer and apply it to my nose. If you’re outdoors a lot, your nose tends to tan more than the rest of your face as it sticks out under direct sunlight. So I find applying a bit of bronzer to your nose tip makes you look a little more naturally sun-kissed!
After this, I simply finish with matte pink blush as well as highlight. If you’re looking to warm up your complexion a bit, the blush can always be applied to your nose and temples as well! Additionally, I always highlight my cheekbones, top of my brow, nose tip and cupids bow. I find the nose tip especially important if you’ve applied bronzer to your nose to help blend it all together.
Step Two: Use Eyeshadow That Matches Your Skin Tone!
For the freckles themselves, I like to use eyeshadow to create the look. Once you’re done with the rest of your makeup, you’ll want to take a light, matte brown eyeshadow to create your freckles (similar to an eyeshadow you may use as a transition shade). For this, it likely depends on your skin tone, however I find a light taupe/neutral brown looks the most natural. As well, you may want to choose a slightly darker shade to help vary the colour and intensity of your freckles.
Step Three: Apply Freckles!
For this, you’re going to want to take an eyeliner brush and wet it. Simply dip it into your selected eyeshadow shade and start applying! Just patting on plenty of gentle dots I find works best for me. To get the most natural look, I find it works best to begin on the bridge of your nose and spread outward from there, doing your best to maintain a random pattern and going back in to fill in any sparse areas after the fact. As well, I find it best to concentrate on the nose, but also spread all the way past your eyes, being sure to keep them fairly high up on your face.
It’s important to keep your freckles light, otherwise they make start to look unnatural. If some of them are almost invisible/not perfectly circular, it’s okay! Ultimately no one will focus on each freckle individually and it will only help to heighten the natural appearance of your look. I personally have found its easier to pull this look off if the freckles themselves are almost barely there, rather than too in-your-face. As a final step, try to blend them out a little with powder or extra bronzer.
And just like that, you’re done! No freckle tattoos or stencils required. Finish with a setting spray to help your makeup last all day and go out there and show off your look!
It’s August, and the start of the school year is quickly approaching. For a lot of you, it may be your first year in university, which can be super daunting. When I came to UBC, I was coming from out of province; I didn’t know anyone, and had never really been to Vancouver save for when I came to visit UBC for one day while visiting family in Calgary, and a few layovers (fun fact: I actually learned to walk in the Vancouver Airport!).
However, as my time at UBC comes to an end, I can look back with the clarity of hindsight — what were good choices and not so good choices, what I wish I had known, etc. So I figured I’d share a little bit with you guys about one of my best choices, and hopefully inspire you to do the same, or at least step out of your comfort zone and try something new!
Me and My Sisters, Bids Day 2016
When I came to UBC in my first year, it was a pretty tumultuous time — I had no friends in Vancouver, my (at the time) dream major was application only and extremely competitive, and I was trying to juggle a long distance relationship. I had a good time, and met a couple great friends–but I didn’t really branch out at all.
When I came back the following year, I knew I needed a change. I had the safety net of being in residence in first year, and I felt I found a community there. But by second year, I was living in my own on-campus apartment with my two roommates whom I’d met in my residence, while the rest of our friends moved off-campus. My roommates were both pretty busy with their own clubs and activities, and I realized I was kind of on my own without a solid friend group, community, or safety net of any kind. So I decided to make a leap.
Me At Our Philanthropy Event, 2015
I honestly can’t even recall what it was that drew me to sororities, I knew very little about sororities and what they consisted of–but I felt inclined to find out. I figured what’s the harm, right?
So I registered for recruitment a few weeks into school. At UBC in particular, recruitment happens around the third week of the semester. It still consists of a lot of the same elements of American recruitment; we have three rounds, which are Tours, Invitationals, and Preference.
I cannot stress how little I knew about sororities before I signed up. On the first day of recruitment, I went to the NEST and was given a name tag and a group before filing into a gym filled with hundreds of girls. We sat in our groups and chatted for a bit before listening to a bunch of introductory speeches. I don’t really remember what they consisted of, apart from the usual advice — be yourself, keep an open mind, don’t feel pressured to joining where your friends are, etc.
Attending Bids Day After Receiving My Bid, 2015
To follow, we headed off to the Panhellenic Building, which houses chapter rooms for all 8 sororities at UBC, as well as female-only apartments. Even with all the speeches gearing us up, I had no idea what the day would hold. When the door to the first chapter room swung open to two giant rows of identically-clad girls singing out “HIIIIIII” in our faces as loudly as they could I was honestly kind of terrified. I was lead in by one girl and given a seat and water, and so the rotations of conversations began.
This continued for all 8 houses, and to be honest, I’ve never been so exhausted at the end of the day. But despite that, I was excited; I couldn’t wait to see what happened next.
Me Attending Phi Gamma Delta Fraternity UBC Formal, 2018
The two following rounds followed similarly in suit: you were to visit up to 5 chapters at Invitationals, and then two chapters at Preference, the final round. You’d think all the craziness would be wrapped up after that, but nope–Bid’s Day (when you receive a Bid to your new chapter) was just as insane in the best way possible. We filed back into the same gym, into our original groups, and stood in a circle while a girl came around and discretely placed a folded paper with our bid in our hands.
Kappa Parent Tea, 2016
Once all the Bids were handed out, we were instructed to open our cards. I opened mine to find the words “KAPPA KAPPA GAMMA” written across the middle in a large font — I was ecstatic. Kappa had been my top choice house from the start.
The rest of the day was a complete whirlwind of meeting sisters, getting t-shirts, introductions and more. And frankly — it didn’t slow down from there. My second year proved to be the busiest, craziest, and best year of my time in university. Every week there was something new — sporting events, philanthropy, parties, meetings, coffee dates, and more. However, the deeper you get into the Greek System, once you’re past all the somewhat hectic and superficial entry period, the more you see it has to offer you.
Kappa Kappa Gamma UBC, 2016
There’s the first level, the new member period. Then there’s the second level — what you find after. Through my sorority, I met my best friend, my big and littles, the fraternity that houses all my guy friends–things that went beyond greek events. They’re people I hang out with on the regular, who make up a large portion of my entire social circle. Over the two years following your first year in a sorority, your understanding and meaning of it grows past weekly meetings and events into something deeper.
However, it wasn’t until my fourth and final year that I came to realize that it went even deeper than that — a third level. As my time at UBC and in Kappa comes to an end, I’ve realized its given me more than friends and a community to rely on — its shaped me as a person.
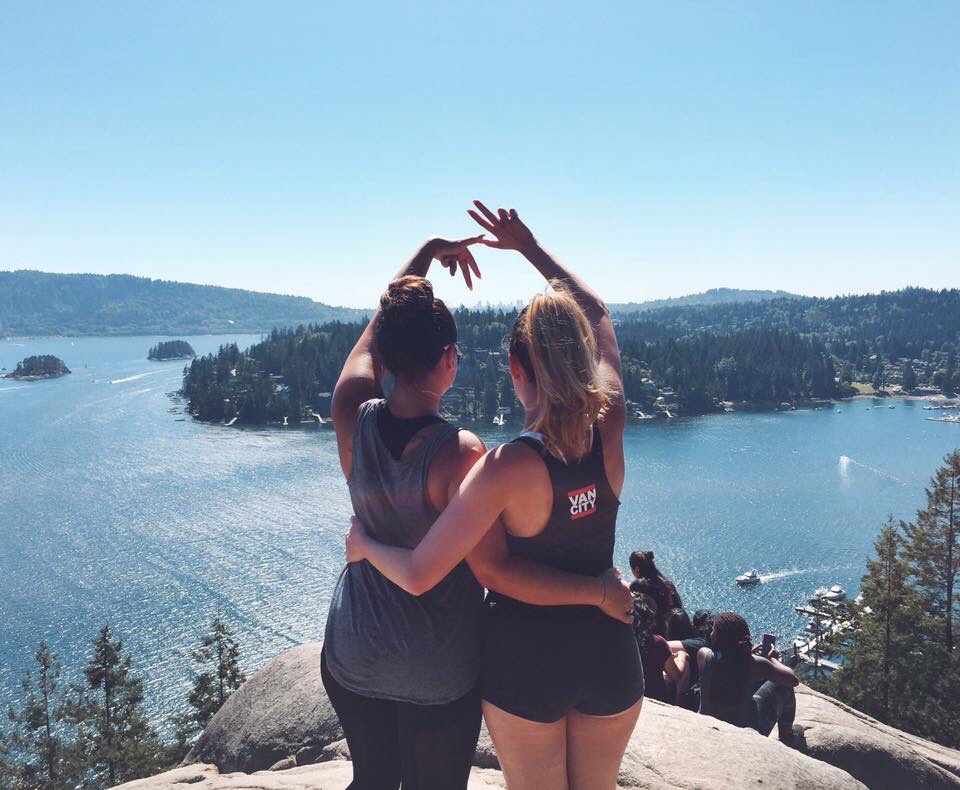
Me And My Big Farrah At Quarry Rock, 2016
I am an entirely different person than the girl I was four years ago, and I could not be happier with the person I have become. I’ve been through many ups and many, many downs over my four years since I signed up to participate in Formal Recruitment, but they’ve all made me better as a person. My first year at UBC, I was cripplingly shy. I struggled with meeting new people, which filled me with anxiety — different from the profound anxiety I felt about applying to my major and figuring out my career. It really held me back in so many ways; from making friends, to business connections, and even exploring new ideas.
Me And My Friend Christie, 2016
Four years later, I’m not that girl anymore. I have no longer decided to pursue film — the stress it caused me was so crippling that by the time I finally realized it was time for a change I didn’t even enjoy it anymore. Now, as I’m graduating, I’ve set my sights on becoming a wedding planner — and I have a much better set of social skills to help me along the way. The thought of being in unfamiliar situations, or finding myself surrounded with people I don’t know, no longer frightens me. Over the past four years, I was thrown into these situations more times than I can count, but I learned to flourish in them and met many of my best friends through it. There have been other, smaller benefits too — my confidence has grown significantly, I have much better tastes in fashion, I’ve learned how to cope with failure and how to push through it as well. I had no idea when I came to university that this was the person I would turn out to be, but every day I’m grateful it happened.
Me And My Little Elle Attending Formal, 2018
So, that’s more a less my story. I could go deeper into specifics and examples, but I feel I’ve hopefully said enough out there to convince any of you going into first year university, or even at any stage of life, to put yourself out there and try something new. Life is all about decisions, and each one puts us on an entirely new course in life. Who knows where I would have been now if I hadn’t taken that leap? I can only guess it would have lead me down a much less exciting path.
Me And My Little Sarah At Recruitment, 2017
If any of you are thinking of joining a sorority or would like to share your own experiences, message me! I’d love to hear it. If you wanna hear more about my experiences in a sorority, drop a comment and I’ll be sure to share a little more in depth! No matter what, always remember: if you’re completely comfortable where you are, it means you’re not changing and moving forward. A little stress comes with moving forward to your next success.
This past week I’ve been back in my hometown — Toronto, Ontario! Being the largest city in Canada, Toronto is somewhat of a cultural hub and has a HUGE foodie culture. So I figured I’d share some of the places I hit up this week that have been my favourites to visit whenever I go home!
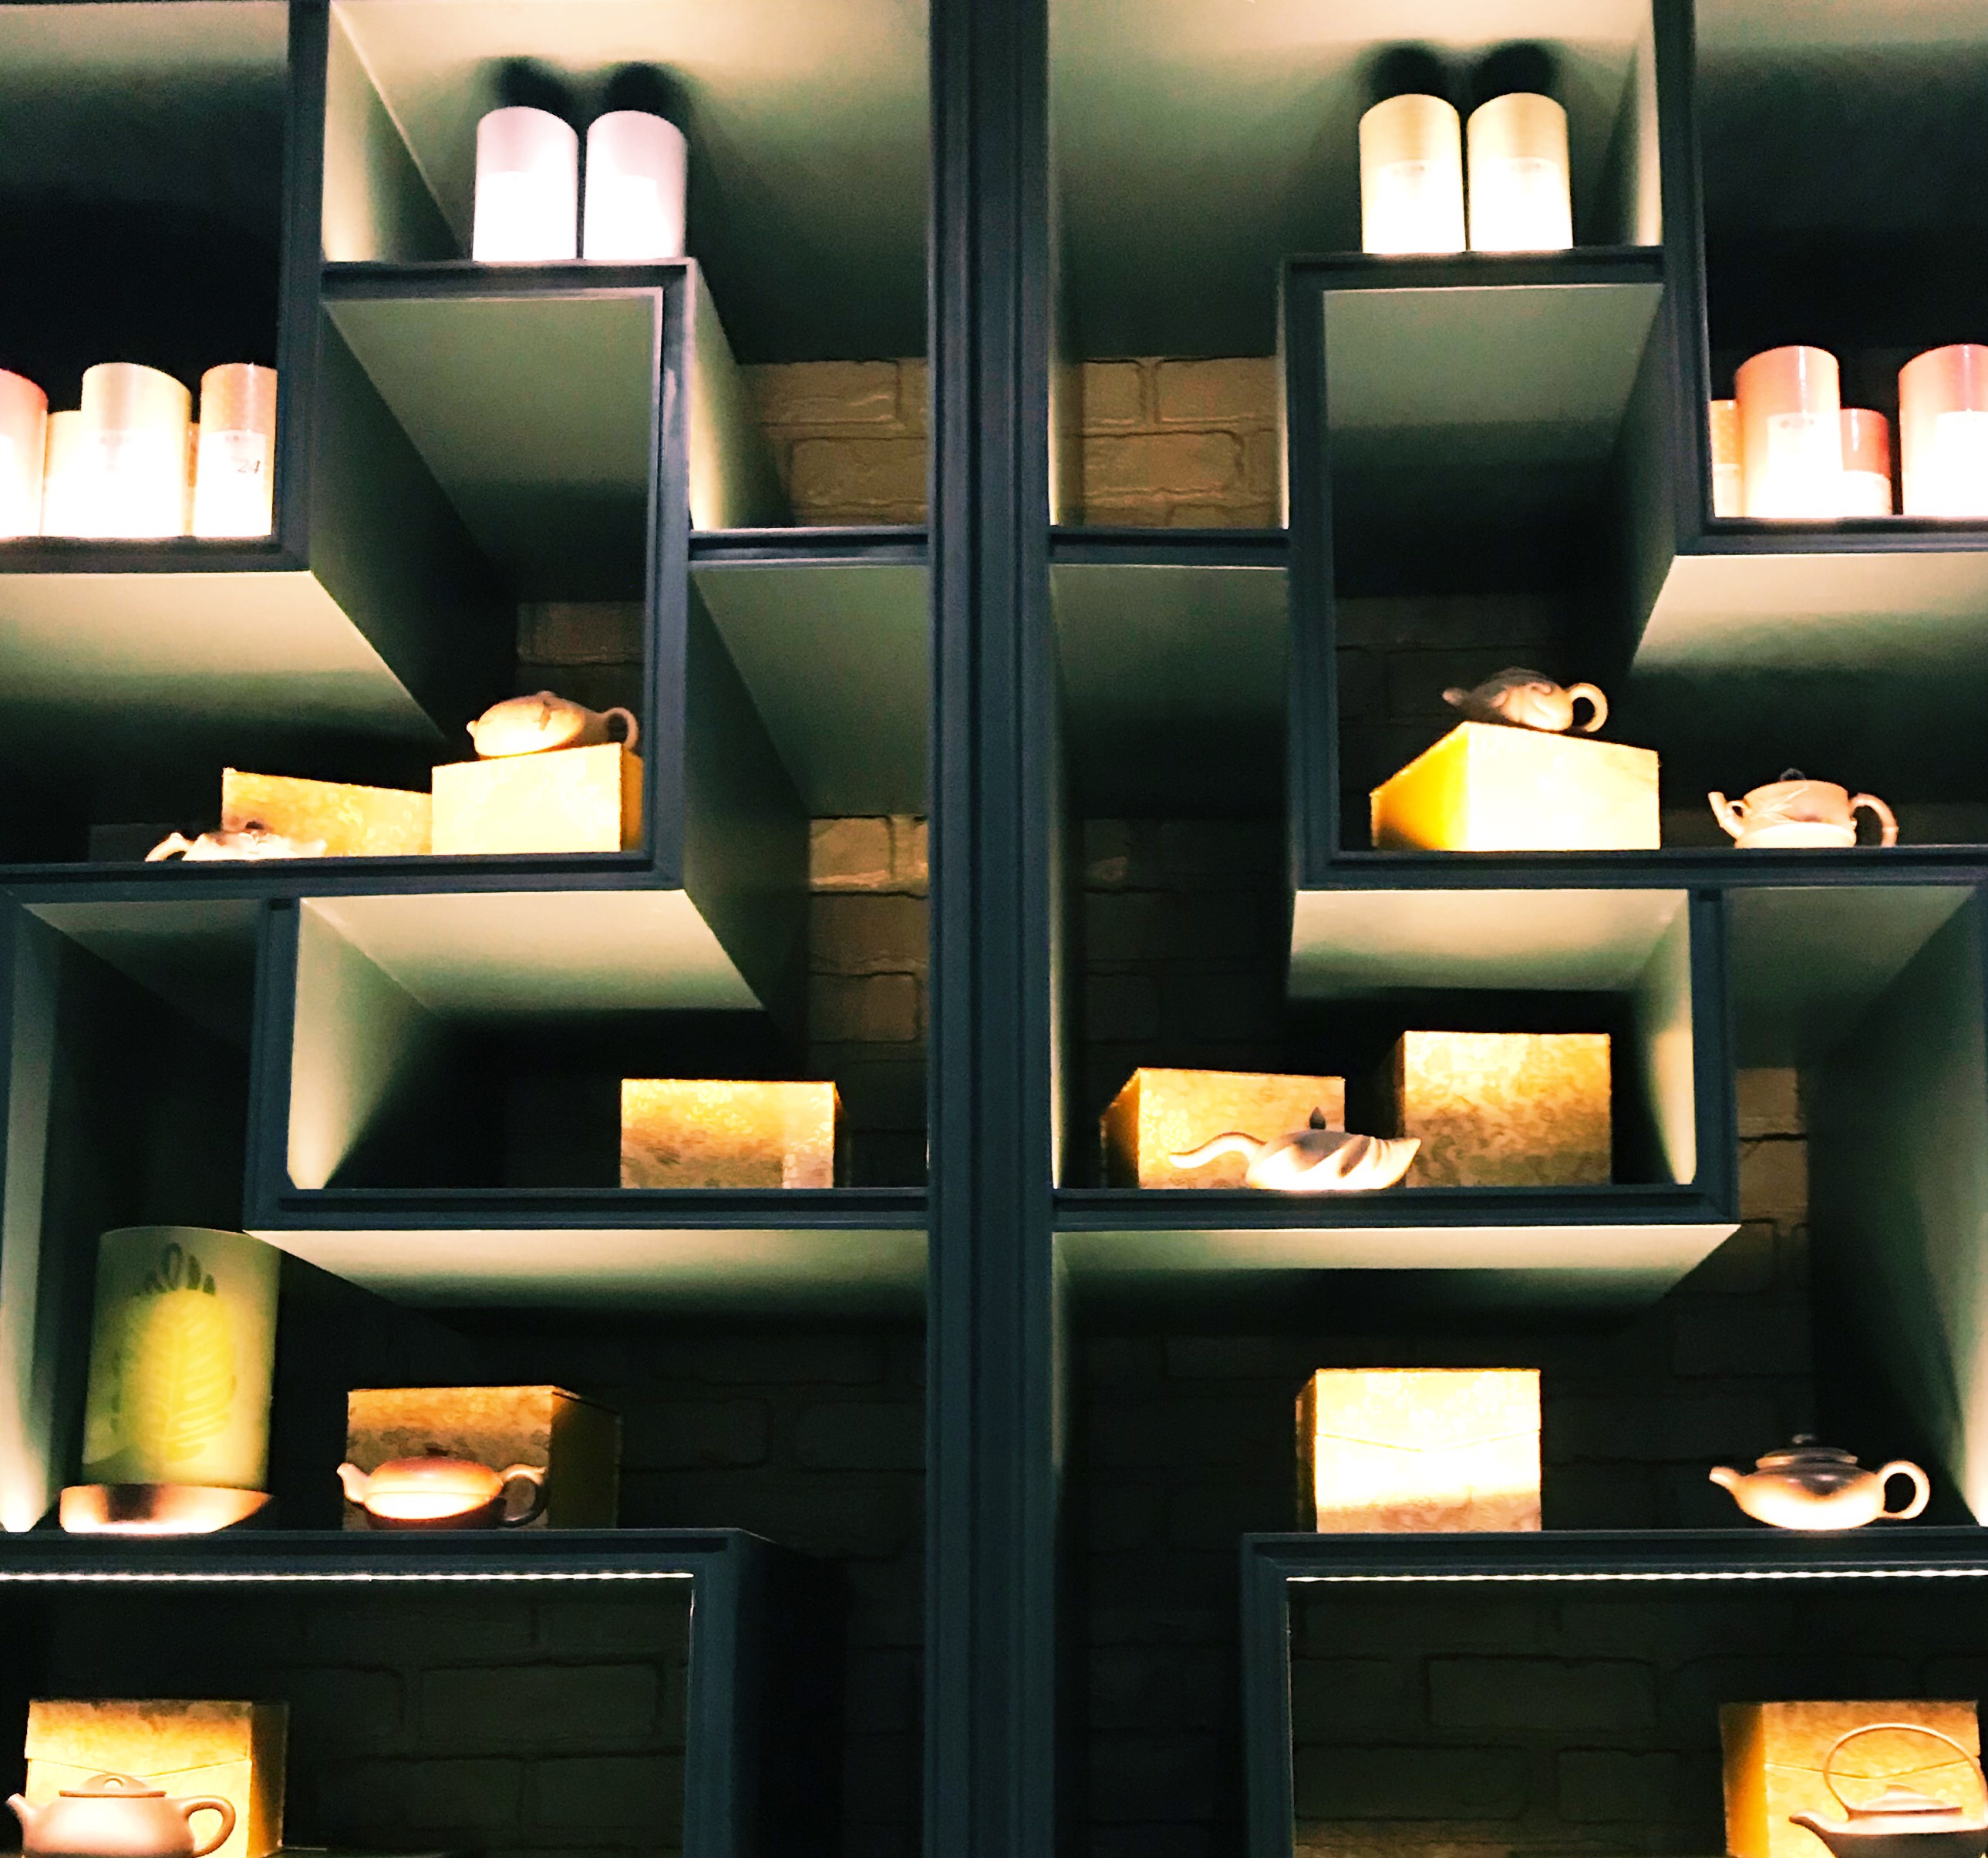
For When You’re Craving Chinese
If you’re looking for a bit of an upscale meal, Kwan is a great place to check out. Not only is it’s Chinese food to DIE for, but it has a lovely, cozy atmosphere and a great vibe overall. If you go, don’t miss out on the truffle fried rice, sesame chicken or chilli garlic shrimp — I literally order these every time I go and they’re outstanding every time.
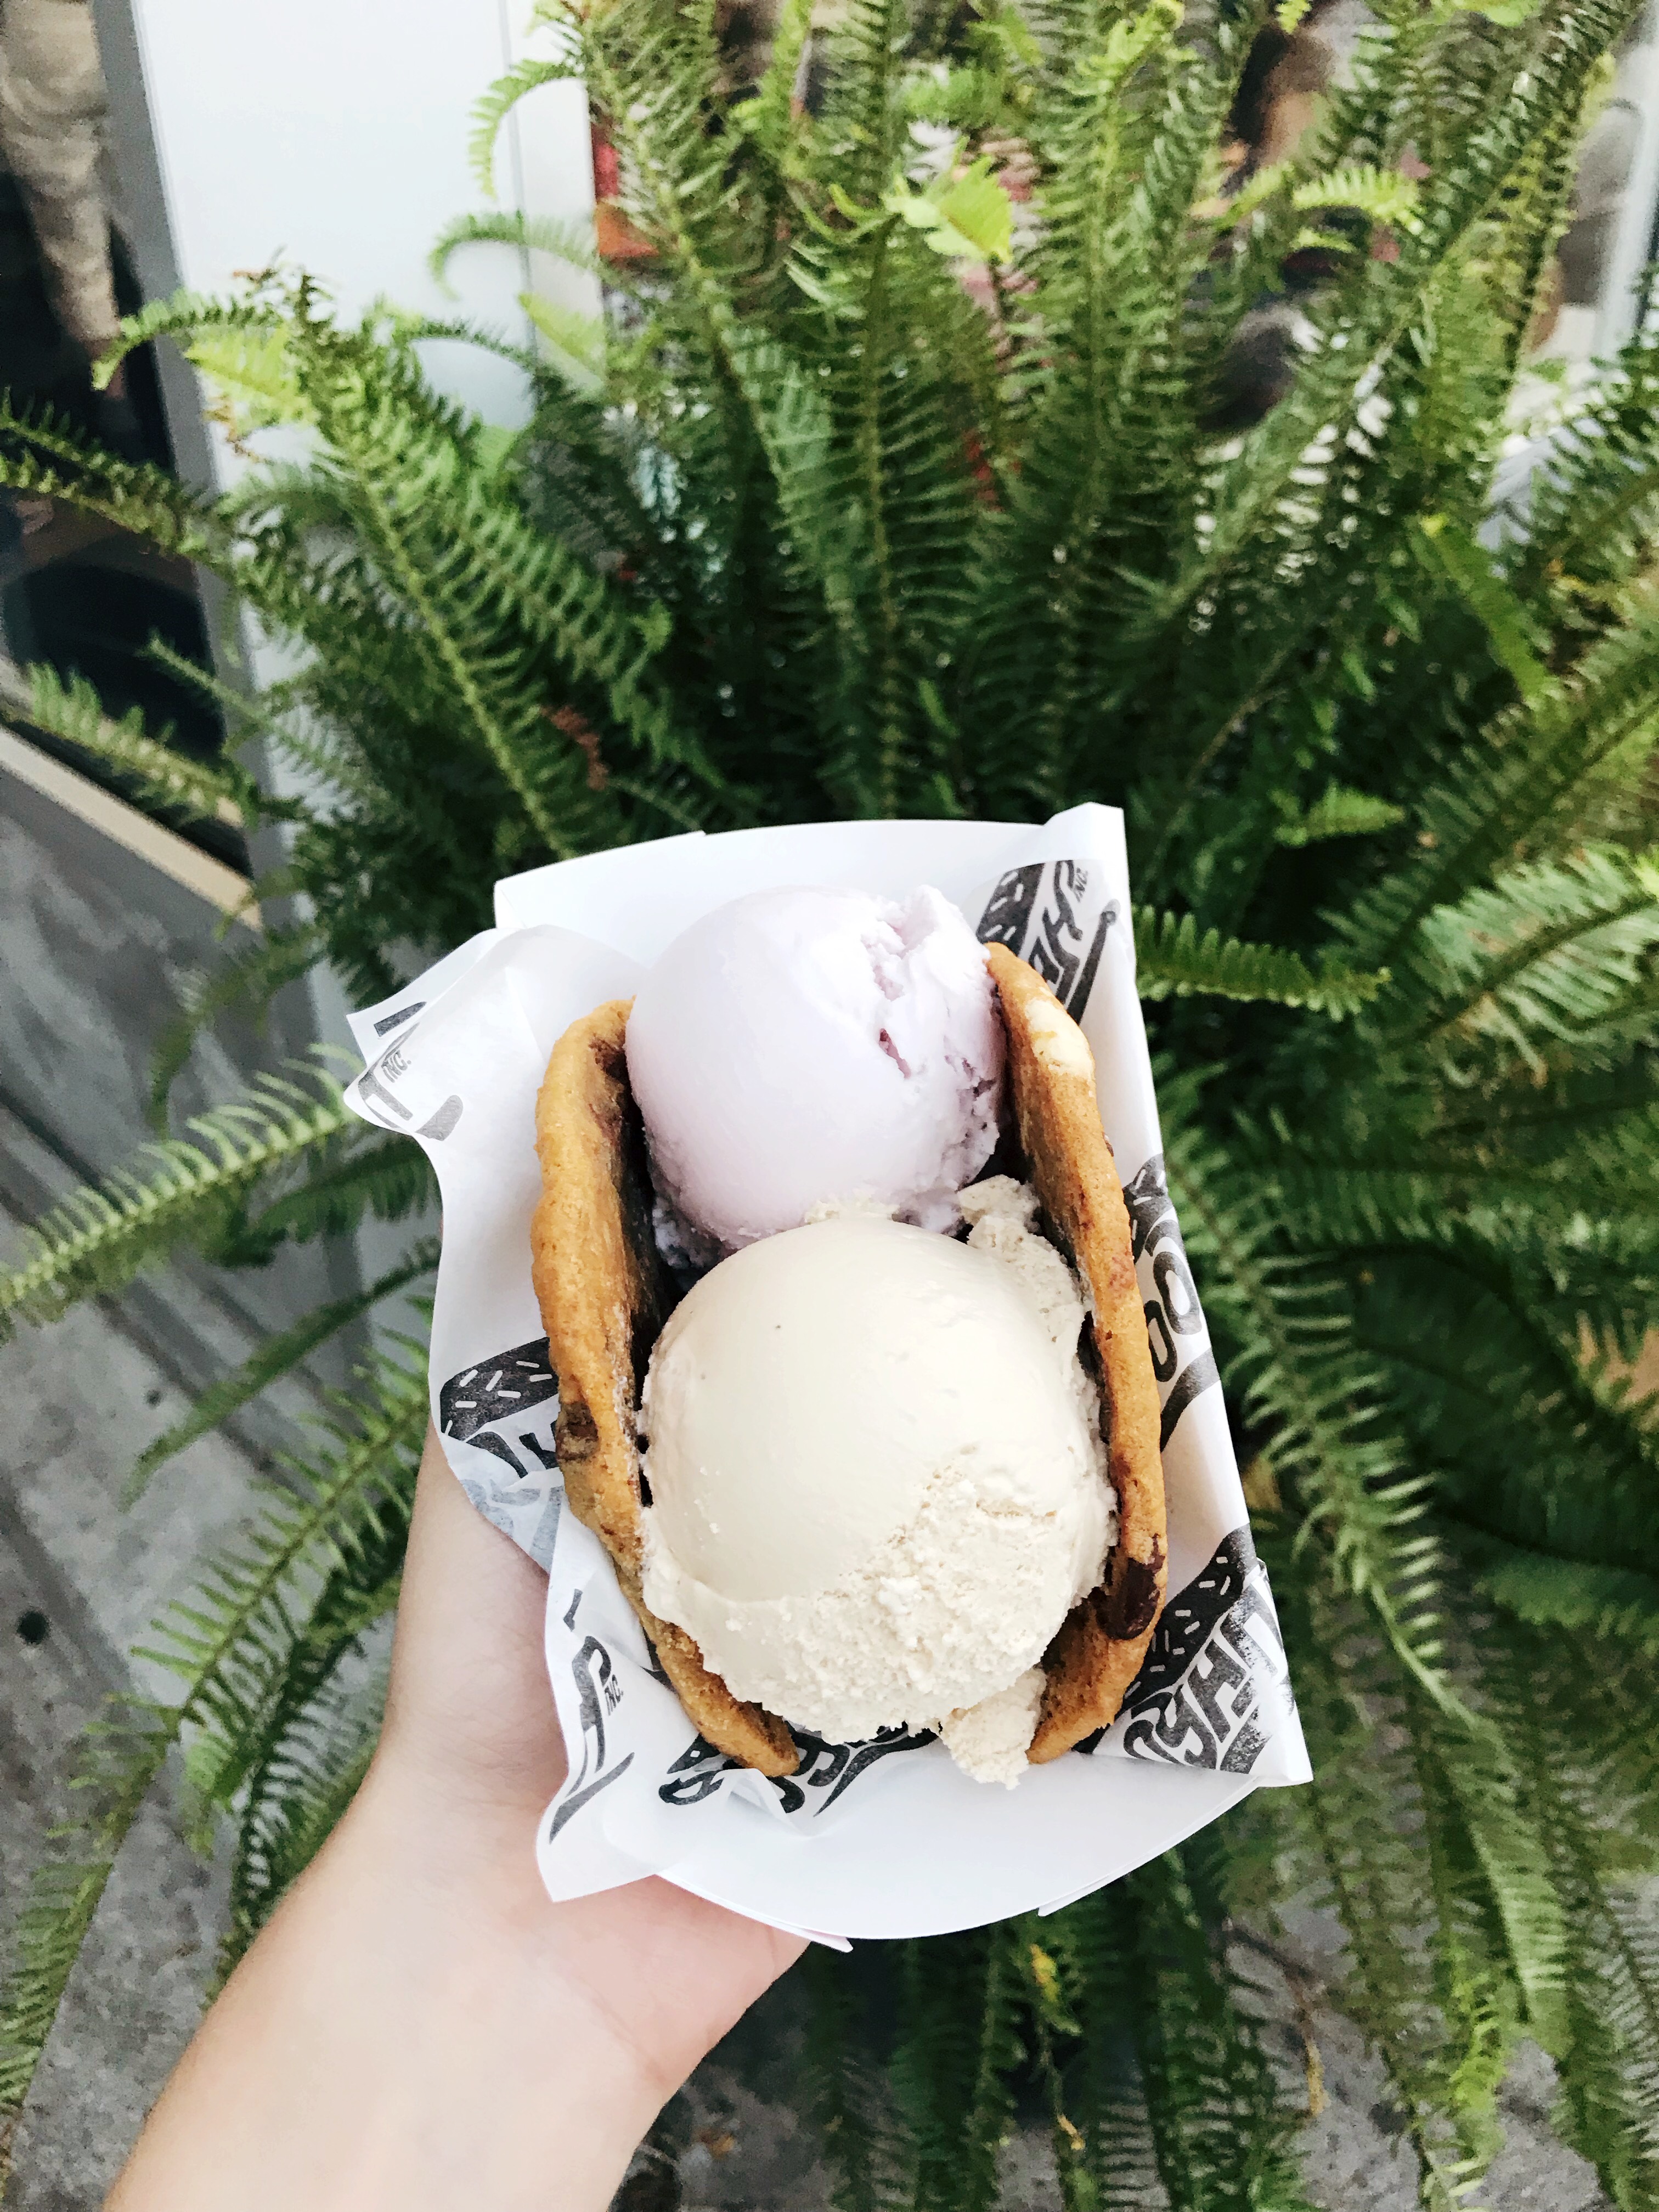
For When You’re In The Mood For Sweets
Booyah Ice Cream
Booyah Ice cream is straight up one of my favourite places to go for cool treats in the summer. Not only do they have their own store-made ice cream, they also offer Kawartha Dairy and soft serve! Their homemade flavours are to DIE for, just the other day I got these two scoops of Earl Gray and Honey Lavander and I was in love. On top of all that, you have the option to get it in an ice cream sandwich (featuring homemade cookies) or even ice cream tacos! This place really is one of my favourites to visit in the hot Toronto summers.
For When You’re Feeling Fancy
Buca Yorkville
If you’re feeling up for something bougie and love Italian food as much as I do, Buca is a must-try. It’s a little on the pricier side, but oh man is it ever worth it. Everything here is amazing, from the appetizers to the desserts (their pine panna cotta is unreal). On top of that, the environment is amazing and the service was next level. 100% recommend for a classy night out.
For When You’re Craving Mexican
La Playa Hacienda
This place seriously has some of the best food I’ve ever eaten. For years, it’s been a go-to every time I go home–I’ve been sure to introduce everyone I know and they all fell in love. The tacos are outstanding, the drinks are incredible, and if you go be sure to try the Elote–it’s a personal favourite of mine. On top of all that, the vibe here is so cool, there really isn’t anything not to love.
For When You Need Your Bubble Tea Fix
Labothéry
There’s so many amazing places to get bubble tea in Toronto, but this one is just SO fun. You get to choose for yourself from so many flavours (complete with the ability to mix and match) plus so many tapioca and jelly add-ins that are so different from other places I’ve been to. This stuff was so amazing, seriously, even if it’s not nearby it’s worth the trek.
And that’s it for this time! Stay tuned for more Toronto hot spots when I go visit again this fall. I hope you enjoyed this blog, and if you have any suggestions for where to hit up on my next trip home I’d love to hear it!