Hey everyone!
Sooooo, this post has been a really, REALLY long time coming. For those of you who follow my posts regularly, I’m sure you’ll remember me teasing this post as far back as December (or possibly even late November) of 2020. It’s taken a while, but it’s finally here! I honestly can’t even tell you all how excited I am to share this post with you — not only have I been DYING to try ColourPop out for a while now, but all the roadblocks and delays I ran into while making this post only made me more excited to finally be able to share it.
ColourPop is a brand that I’ve been hearing about since, like, forever — it really seems like every single makeup blogger, vlogger and Instagrammer was obsessed. However, due to the fact that I’ve been hesitant in the past about buying makeup online without seeing it in store (as well as the fact that I’m not American, and international shipping can be a pain), it took me a while to getting around to trying it out for myself. I took the leap in 2019 with buying cosmetics online from Kylie Cosmetics, and after having taken the leap once I realized it was no where NEAR as nerve-wracking as I was making it out to be. It takes a while to narrow down products when you can’t see them in person to decide, and yes, you won’t always get exactly what you’re picturing. However, so long as you stick to popular products (such as shadow palettes, highlighters, lip glosses or whatever the site your shopping from is known for) and read the colour description and reviews on products such as lipglosses that can be hard to see the nuanced differences in from photos online, you should be good.
At the end of 2019, I rated ColourPop as one of the brands I was most excited to try in 2020. With my fear of purchasing from online-only cosmetic brands out of the way, it was on the top of my list being one of the best-known makeup brands out there that I’d never tried. However, as we all know, 2020 de-railed pretty quickly, and my need to purchase loads of makeup suddenly dropped to zero.
I honestly kind of forgot about trying ColourPop for a while — after all, I maybe did my makeup like 10 times total last year — until one of their collabs caught my eye. ColourPop, after all, is kind of known for their numerous collabs with different influencers and brands. However, the particular collaboration in question that re-launched my interest in trying the brand was none other than their Sailor Moon collection. As a slightly-less-than-casual anime fan, while I’ve never watched Sailor Moon specifically (yet), I was kinda obsessed with how cute these products were and the concept of the collab overall — so I finally decided to give it a shot. (I mean, I was also kind of drawn in by their tie-dye shadow collection, too…… both collections seemed like they were totally made for me, TBH).

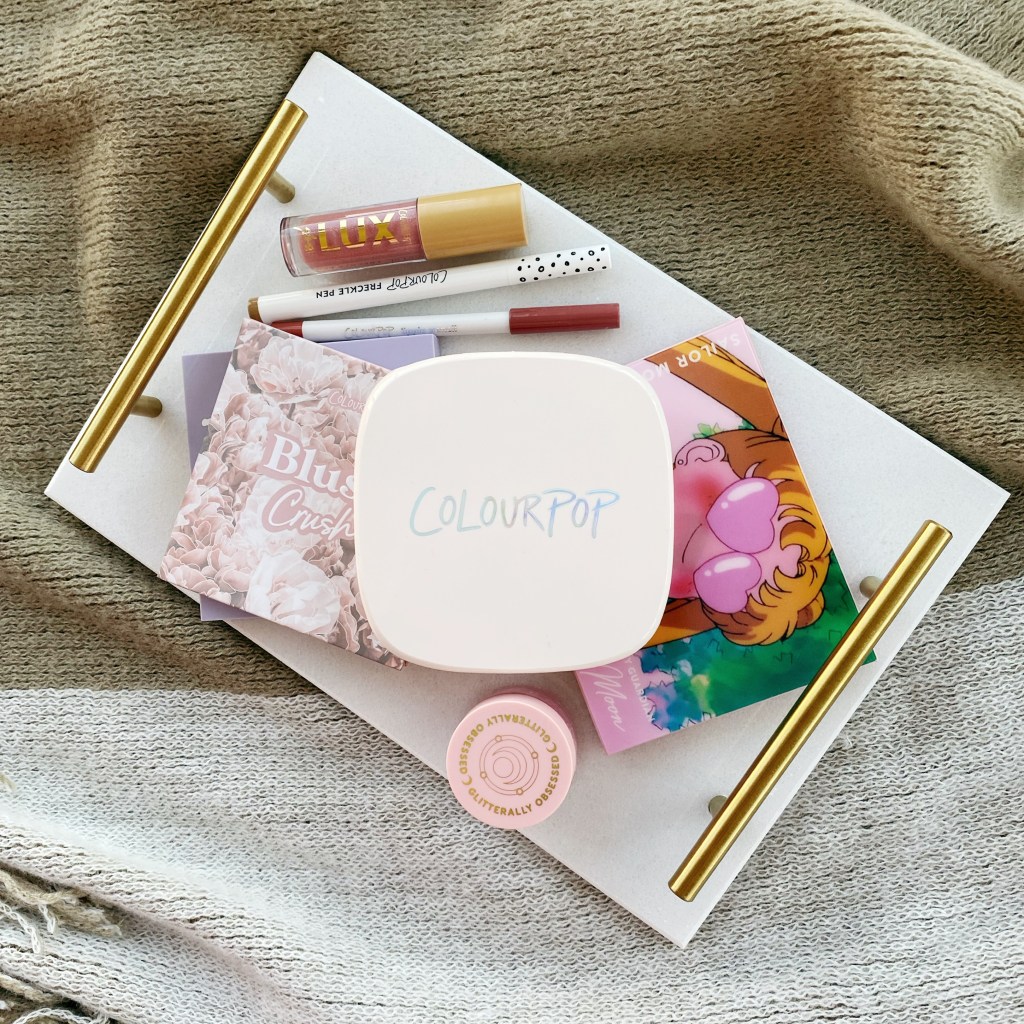
Between the international shipping and the fact that I placed my order only a few weeks before Black Friday, it ended up taking my package over a month to arrive. After all the anticipation, though, I did finally get to test it all out and I’ve finally written out all of my thoughts and first impressions to share with y’all. So without further ado — let’s get into it!
Sailor Moon Collection Eyeshadow Palette in Pretty Guardian

Did I really buy this eyeshadow palette simply because it has Sailor Moon on the front? Perhaps. But do I love it anyways? Absolutely! The colours are absolutely stunning, and while they aren’t a combination that I’d usually expect together, they go beautifully with each other. What’s more, this palette comes with neutrals, mattes and blending shades as well as bright, shimmery and bold colours, so you really can make any number of complete looks with this palette alone.
Sailor Moon Collection Glitter Gel in Moonlight Legend

This glitter gel is absolutely UNREAL. I feel like I’ve been searching for a product like this since, well, forever. (Seriously, where was this glitter before I went to Fvded in 2018?). I know ColourPop is far from the only cosmetic brand that sells chunky glitter in clear adhesive such as thing, but it’s certainly the most major brand to do so that I can think of offhand (and certainly the easiest to get your hands on). All that aside, though, this product actually works wonders. As in, when I swatched it on my hand, I expected it to rub off instantly or wash off entirely with water, as so many liquid-glitter type products do. However, this stuff stayed put. As in, it didn’t even budge on my HAND after a few hours. Which basically means that you’ll have NOTHING to worry about when you wear it on your face. Don’t worry, though — it comes off super easily with makeup remover, so it’s not like it’s one of those products that stays on because it’s impossible to get off. The glitter is soooo pretty, too — it’s not as pink as it looks here as the gel goes on clear, but the glitter chunks are a sort of iridescent blue-pink that I’m really obsessed with. Now all I need is for COVID to end and festival season to restart so I can get the most possible use out of this stuff!
In A Trance Eyeshadow Palette

This was the eyeshadow palette that really convinced me that I had to put in an order with ColourPop. While the Sailor Moon collection really caught my eye, when I saw this I knew I had to have it for myself. My favourite colours are blue, purple, and pink, so this palette was literally made for me. I gave it a test run on New Years Eve, and honestly I didn’t really know what to expect. I’d heard great things about ColourPop, but at their price point, I found it hard to believe that they’d blow my mind. However, I was overall pleasantly surprised. Some of the super pale-pastel shades were less pigmented than I expected, however, it’s kind of a classic problem that many pastel shadows seem to have. Even the most expensive and high-quality pastels of any brand will always turn out less pigmented than non-pastel shades of the same line. However, when I tested out some of the darker colours, such as the darker pastel blue, the colour payoff was INSANE. Like, I wasn’t ready. (Seriously, I went in HARD with this blue, expecting it to be less pigmented like the lighter pastel blue and almost messed up my whole look when it turned out to be pigmented AF). All the colours blend out really well though, and they aren’t patchy at all, so I’ll let the fact that the pastel shades aren’t as pigmented slide. After all, they’re still beautiful and 100% buildable, so they just take a little more effort (but it’s worth it).
Blush Crush Eyeshadow Palette
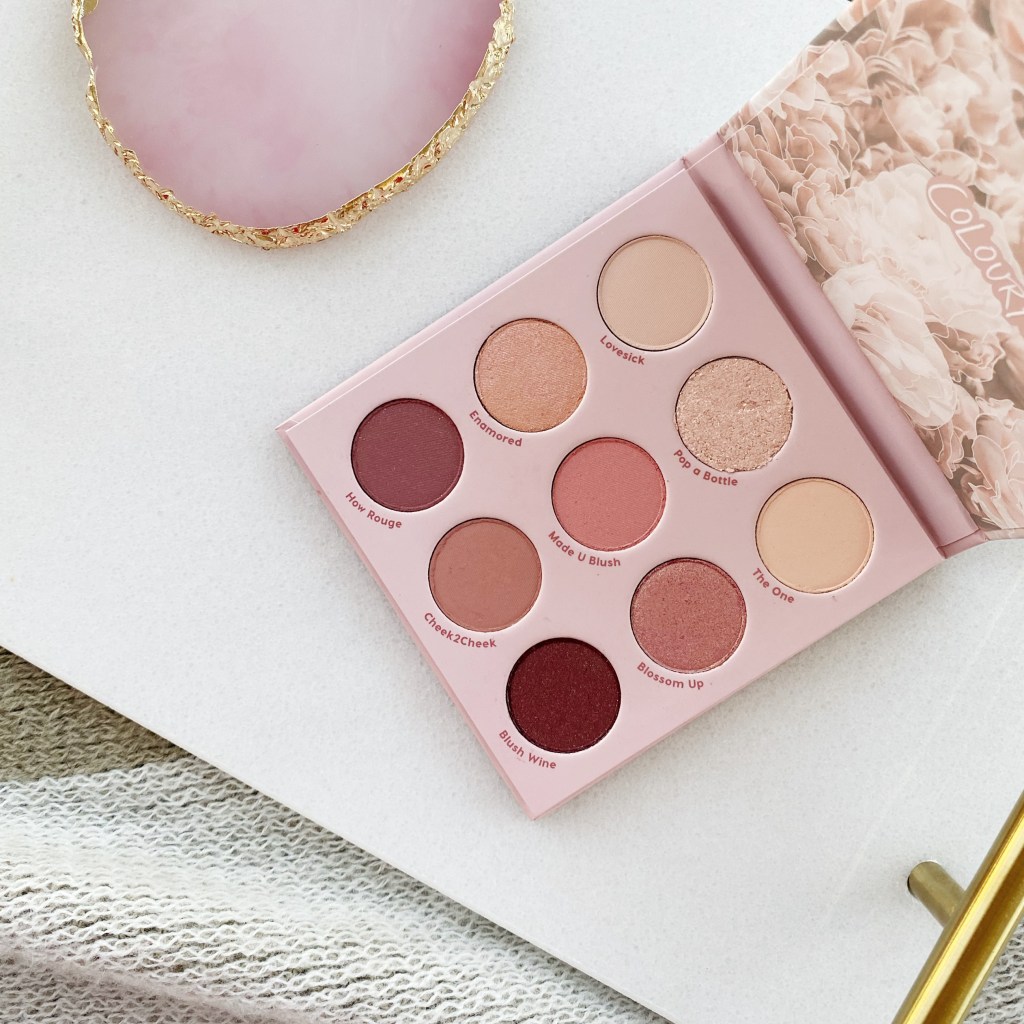
I saw this palette and just felt it would really make a great everyday palette for me. I’ve really been digging the pale pink vibe for day-to-day makeup lately, so I decided to give this one a go. I don’t always love how coral/warm toned neutral shadows look on me, so for daily use, I tend to go for more neutral pinks and neutral or cool toned browns, depending on whether I’m trying to go for a casual “day out” look or something more professional. Trying this palette out, it may be a winner — I do kind of find the ColourPop glitter shades to be a bit difficult to use, but the shimmer and matte shades are to die for and the made a great daytime look.
Super Shock Highlighter in Manifest That…
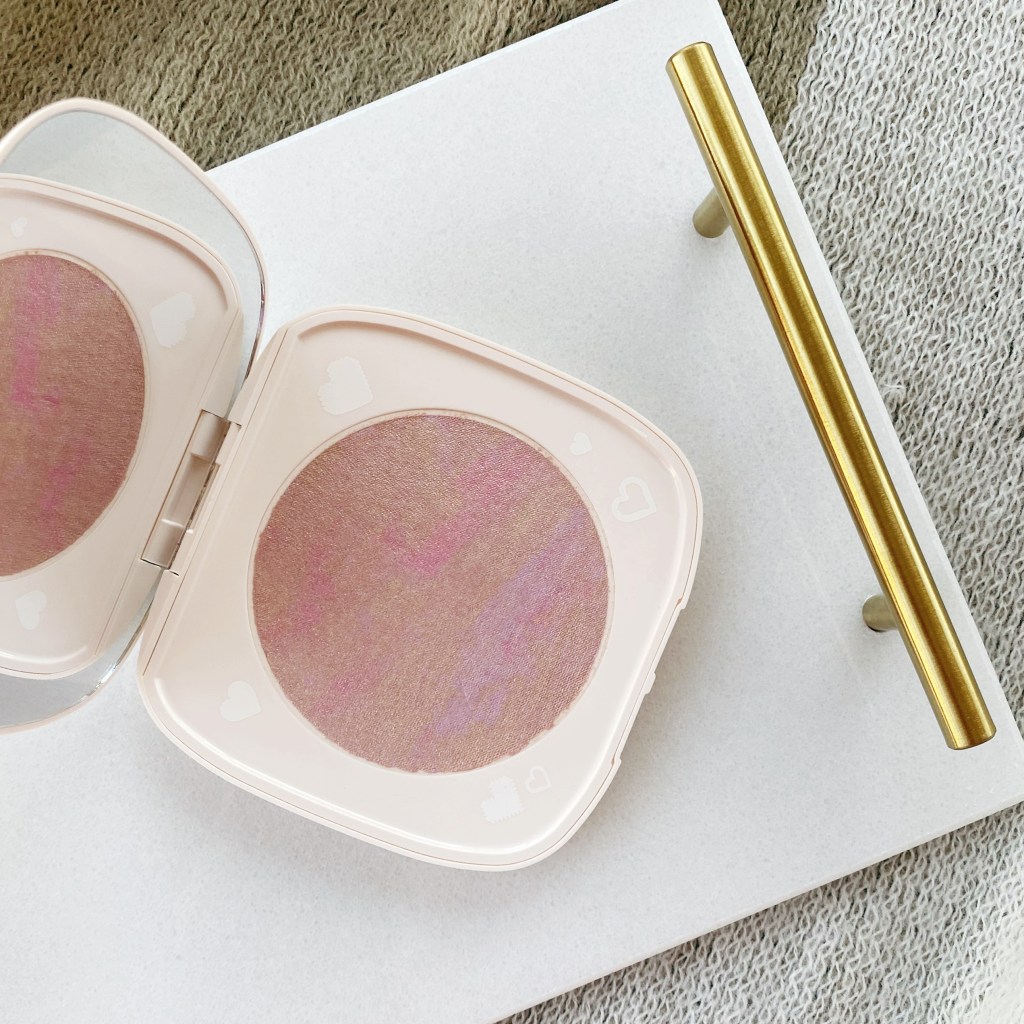
Wow. Okay, so, I actually don’t even know where to start with this highlighter. I’d heard about Super Shock highlighters before here and there, but NOTHING could have prepared me for how much I was going to LOVE this product!!! Seriously, I can hardly put it into words. I probably sound kind of weird right now, but this highlighter was a total game changer for me. If all of ColourPop’s highlighters are this good, I don’t know that I’ll ever buy a highlighter from another brand ever again. In all honestly, I was actually super skeptical before I actually tried it on. Not only does the colour look a little bland in-package, but the packaging itself was actually kind of broken — it doesn’t really stay shut on it’s own. However, I’m so blown away by how it makes my skin glow like I’ve never seen it glow before that I’ll just tape it shut — who cares!
Freckle Pen in Soft Brown

While I don’t really wear them often, I’m a huge fan of fake freckles. In the past I’ve applied them using cool-toned shadows and a tiny liner brush, however, even as I got pretty good at freckling my face, some freckles always ended up looking botched and I’ve never really ended up wearing them out in public. However, when I tested this pen out, it made applying freckles so easy I may actually give wearing them out and around a go. (I mean, I guess post-COVID since they’d be entirely covered by a mask, but still). This pen has a fine enough tip to give you itty-bitty freckles, but you can definitely create a whole variety of sizes with it. It’s easy to apply so they don’t end up looking weird or smudged, and the colour is cool-toned enough they actually look real. Basically, I’m going to be drawing on fake freckles a lot more often from now on.
Lux Gloss in Panache

Overall, this lip gloss is pretty solid. It’s not perfect, but it’s certainly pretty decent overall. I did find it to be a little heavy and sticky — but at the same time, the colour is gorgeous and it’s really pigmented for a gloss. I haven’t gotten much of a chance to see how it lasts when I wear it out in public (because, you know, COVID and all) but wearing it around my house with a full face of makeup, it did seem to pass the reliable and long-lasting test. It’s not perfect, but I’d definitely consider trying ColourPop’s glosses again in the future.
Lippie Pencil in Another Round Pencil
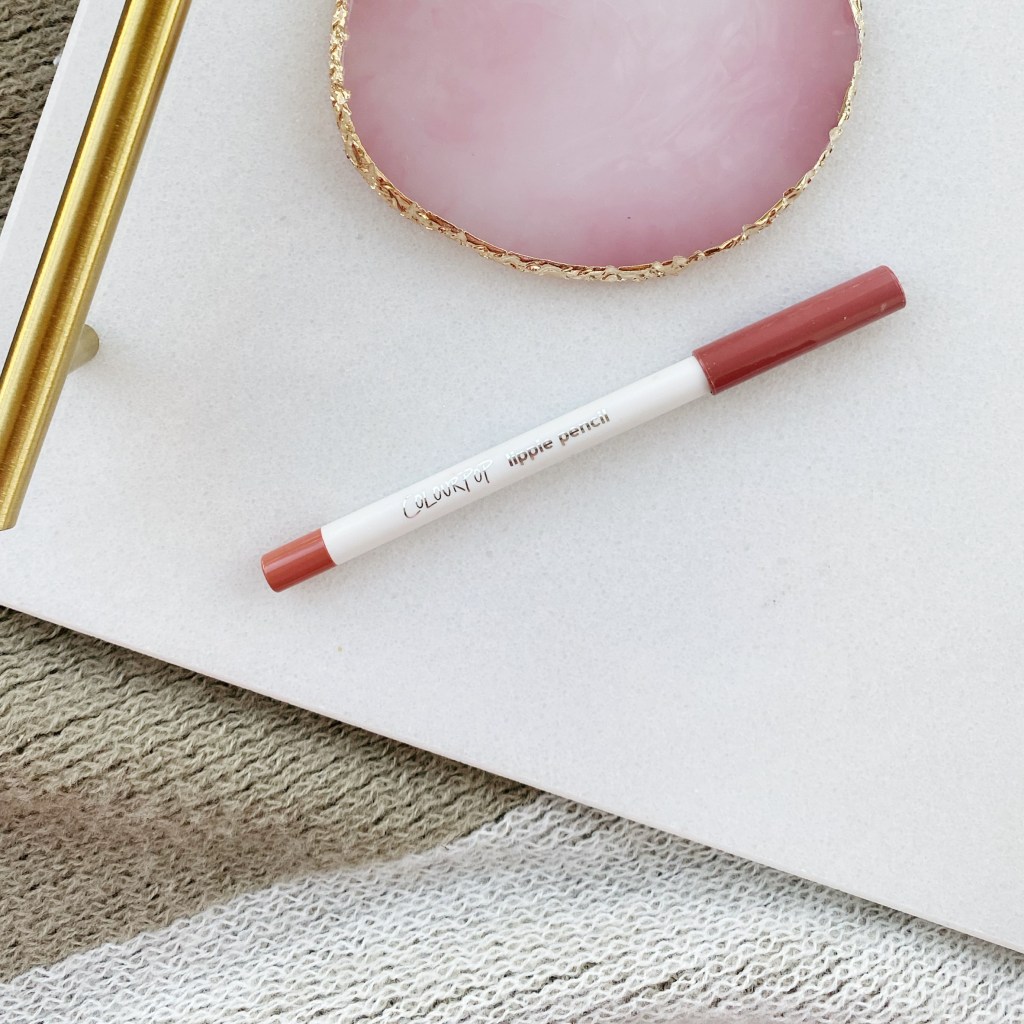
While I’m not super knowledgable on lip pencils, I have to say, I’m pretty impressed with this one. I have a decent-sized collection of lip pencils from the last few years, but honestly — I never really used them up until a few years ago. They seemed kind of pointless to me. Now I realize how useful they are, but my collection is still a little small since I still have a hard time coughing up a whole load of money for a product that goes UNDERNEATH my lip products. Like, I know they’re worth it on one hand, but on the other …….. anything more than like $15-$18 for a lip pencil is just asking too much. But $8? I’m sold. This pencil is creamy, pigmented and overall great value for it’s cost. Next time I need a lip pencil, I’ll know where to look.
To sum up my overall opinion, I have to say — I’m kind of obsessed. These products would be pretty good quality for any price point, but to my knowledge there’s almost no where else you could get such high-quality products for such a low price. For the cost of my entire haul, I could maybe get an eyeshadow palette and a lip gloss from the average brand that Sephora carries. While I’m still going to indulge in more expensive brands from time to time, ColourPop is the perfect brand to fill in any missing items from your collection, or for hopping on the latest trend without dropping too much.

I hope you all enjoyed this post as much as I enjoyed sharing it with you! It was a long time coming but honestly, it was worth the wait. Now that I’ve tested the waters with ColourPop, I’m honestly excited to give more of their products a try. (Fingers crossed I’ll get more chances to wear makeup in 2021!). If you’ve tried out ColourPop before, drop a comment below and let me know how you liked it, or which products and collabs were your fave! I’d love to hear all about it.
I hope that all of you are having an amazing week, and despite everything, that your January’s are going well so far. This year has been off to a rocky start for sure, but we still have 11 months to hopefully turn it around and make it better than the last one.
Stay tuned next week, where I’m going to be sharing a surprise post with a bit of commentary I have about the online blogging community and changes I’m making for myself and my blog. I’m kind of nervous to share it with you guys, so I hope you all read it and share your thoughts about if you feel the same!
Much love and see you next week,
Meredith