Hey friends!
Can you believe it’s almost the end of August? This year has absolutely been flying by — its crazy to think back to how different things were even a month ago, yet alone back at the beginning of this year. One of the biggest changes to our world this year is requiring (and possibly normalizing) wearing masks in public. Wearing masks in public has been popular in many countries for years as an act of courtesy if you’re feeling sick, and while it wasn’t entirely uncommon in Vancouver, going forward I think it will become more normalized than ever.
Personally, I’m all for it. If you’re feeling sick, it’s only polite to protect others and limit spreading illness. I don’t find wearing a mask to be that much of an inconvenience, plus, you can get some pretty cute and custom ones to complete your outfit and express yourself! You can find all kinds of different masks anywhere nowadays, but for really unique designs and essentially unlimited options, RedBubble has you covered — I’m waiting on an order of masks I put in from them recently and I couldn’t be more excited! They really have something for just about anyone, given how many artists are active on the site.
The only things I find tricky about masks are 1) wearing them with glasses (which of course, I can always just wear my contacts — but it’s a pain if I don’t want to) and 2) wearing them with makeup. While you can get away with wearing a full face of makeup under a mask if you’re only wearing it for a short period of time or are careful not to exert yourself too much (and you know, end up fogging up the inside of you mask) — you really can’t get away with wearing a full makeup look if you have to wear the mask for a while. It’s pretty much impossible to not have your makeup get at least a little messed up under there, especially when you’re wearing foundation and a full cheek look. It’s impossible to keep your mask from wearing away your makeup when wearing it long-term, which can leave your makeup looking pretty rough after a while.
So, yeah. Masks can be a bit of a pain. But what’s a little inconvenience in the grand scheme of things? It may be a pain, but it’s better than the alternative of spreading disease and accelerating the pandemic. While you can easily choose to go makeup-free, I’ve also come up with a simple makeup look that’s a lot less prone to smudging under your mask for anyone who’s determined not to let their masks stop them.
I’ve found, personally, the trick to having your makeup stay relatively intact under a mask is to forgo foundation. I know this probably sounds unappealing to a lot of people, especially if you were looking for a tutorial to maintain your makeup under your mask exactly as you wear it normally. Sure, you may have to go a little more ~au natural~ for this look, but it still ends up looking like a full face in the end.
Step One: Prime
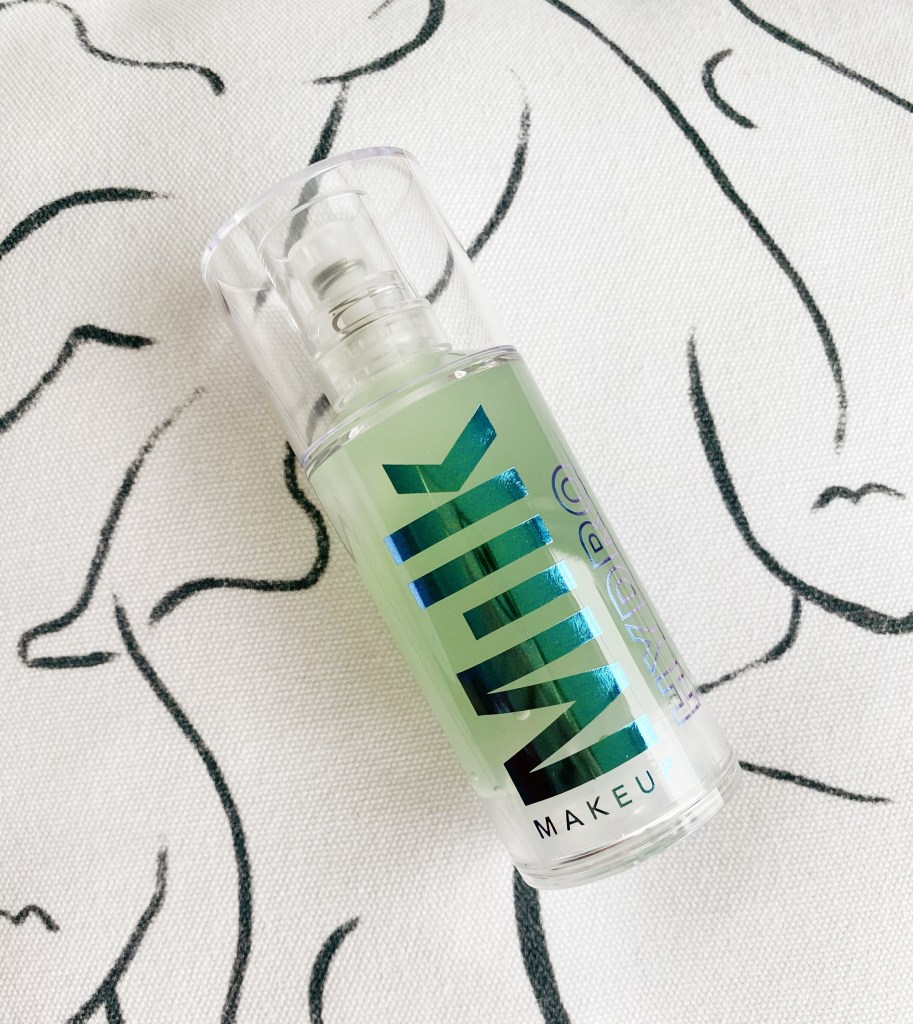
This is the first step to most people’s makeup looks, but given the mask (and thus the increased likelihood your makeup is going to wear off over the course of the day), it’s more useful than ever. I’ve been using (and loving) Milk Makeup’s Hydro Grip primer, however, whatever your go-to is works best for you!
Step Two: Conceal + Set
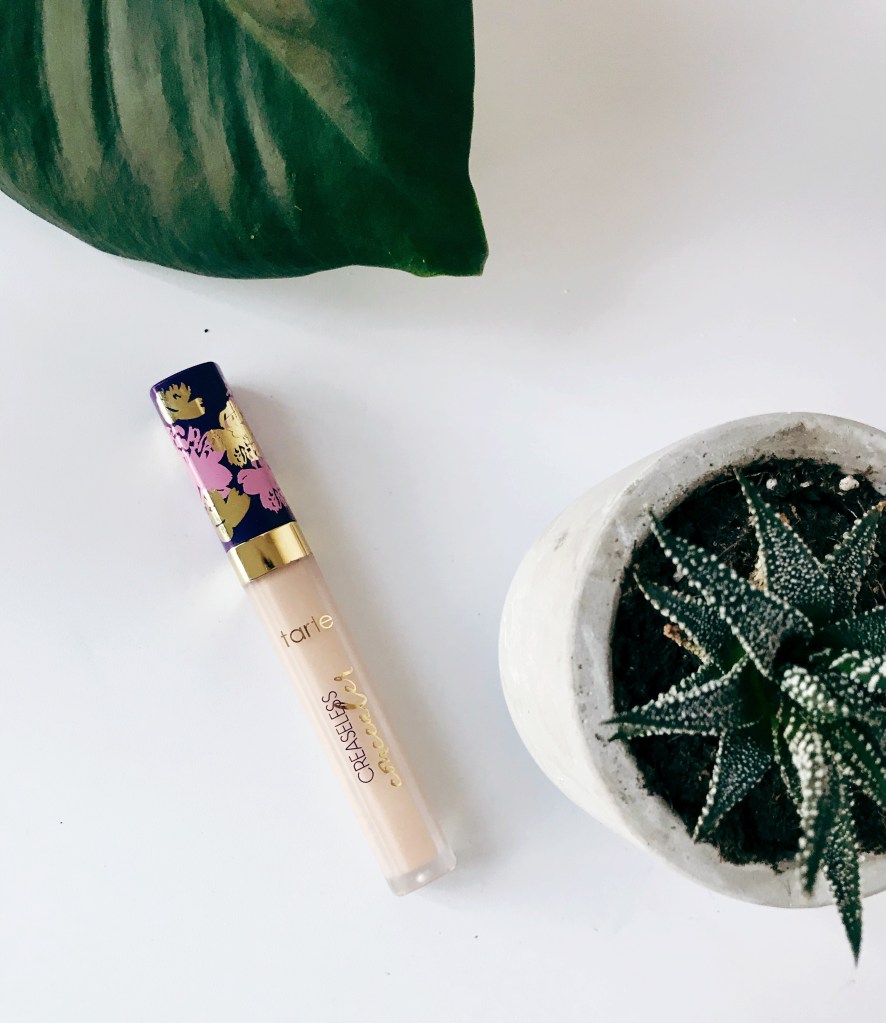
Next up, dab a little concealer of your choice underneath your eyes. My holy-grail under eye concealer is Tarte’s Creaseless Concealer, but once again — whatever your favourite concealer is works perfectly as well! I apply my concealer under my eyes in a triangular shape, and then blend it as best I can into my skin. The line between concealer and your face doesn’t have to be flawless — blending that out comes next. However, you’ll want to get it as diffuse as possible. Once you’re done, use a powder to set your concealer and keep it locked in before moving on to the next step.
Step Three: Bronze + Blend

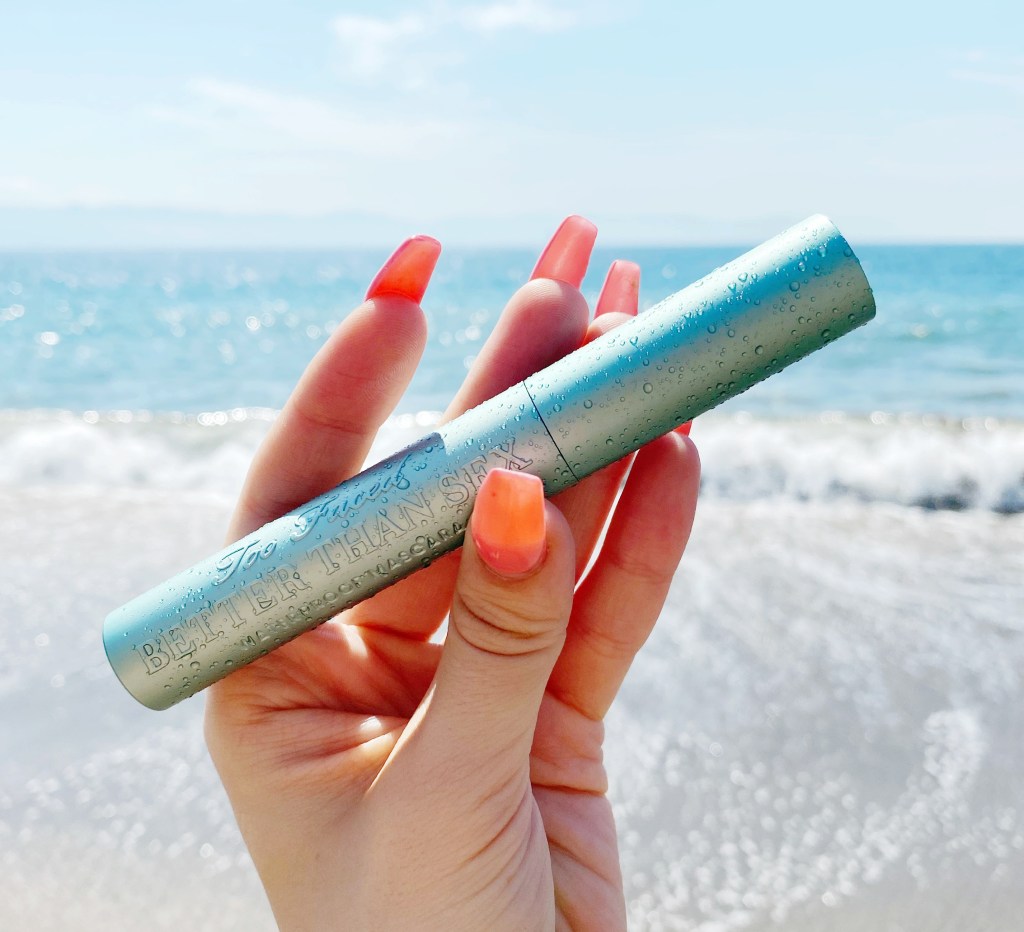
Once your concealer is set, take a matte bronzer and apply it all over your face. Try to choose one that’s a more natural shade and isn’t too dark compared to your skin tone (this way, you’ll avoid turning out orange). You don’t want to use too much — it’s more meant to give you a little glow and blend the line between your concealer and your skin rather than acting as foundation. Make sure to get your eye area, too — you want it to look uniform with the rest of your face, after all! My go-to is Too Faced’s Chocolate Soleil Matte Bronzer — I haven’t made a whole post for this one yet since I’m waiting to finish and repurchase it, but it’s one of my faves. (After all, I want it to be all shiny and new and looking it’s best when I show it off to you guys!).
Step Four: Blush + Highlight
This step is kind of up to you, and whatever you want your finished look to be. If you need to blend your concealer a little more, you can add some more bronzer to your cheekbones. If you want to look fresh and glowy, feel free to add a little highlighter to the look. And if you want a cute and rosy glow, throw on some blush! It’s really up to you. I’d recommend keeping it as natural looking as possible, though — since this is where your mask sits, it’s the more prone to getting smudged throughout the day. Whatever you end up going for, be sure it won’t be too noticeable if it ends up being wiped away.
Step Five: Eyes

This step is totally up to you — feel free to style your eyes however you please! Whether you’re just looking to stick with your go-to everyday eye look, or go big and bold, or stick to simple and natural — the choice is yours! De to the natural look of this makeup, I like to stick to something simple and light — which I love the Charlotte Tilbury Pillowtalk Instant Eye Palette for.
Step Six: Set + Complete!

For the final step, you’re going to throw on whatever finishing touches you normally add and finish up with a setting spray! My go-to, of course, is ran Decay’s All Nighter Pollution Protection. This step is pretty crucial, since it really helps to hold everything in place — making your makeup more resistant to being worn off over the course of the day. As a final note, if you want to wear lipstick/gloss, I’d recommend bringing it with you and applying it after you’ve taken your mask off — at best, it may stay in place under your mask but it’ll probably feel pretty gross all the while. Save yourself the stress and just bring it along with you!
And there you have it! A simple, easy, six-step makeup look that will keep looking fresh, even if you have to wear a mask all day. The feeling of taking off your mask and having NO idea how messed up your makeup looks underneath is the worst — but with this makeup look, you can avoid the stress altogether. Even if it does get a little damaged after long-term mask wear, it’s simple enough that the difference won’t be noticeable. As well, after step three its more a less up to you how you want to finish the look — so while I often pair my natural every-day eye makeup to achieve a natural look, you can still go all-out on the eyes for something more bold — or go no makeup on the eyes, if that’s what you love. No matter what look you’re going for — this tutorial leaves your options open!
I hope you guys are having a good wrap-up to this summer season! I can’t believe we’re so close to September, but I adore fall, so I’m not mad. I can’t wait for fall to get into full-swing, after all, I’ve been needing a bit of change lately. August has me feeling super burnt out, which is pretty fair considering what a rollercoaster this year has been. I’m hoping to be able to shake things up this September and get back on track for all my goals for 2020!
Much love,
Meredith